Did some jacking. Was just jacking it.
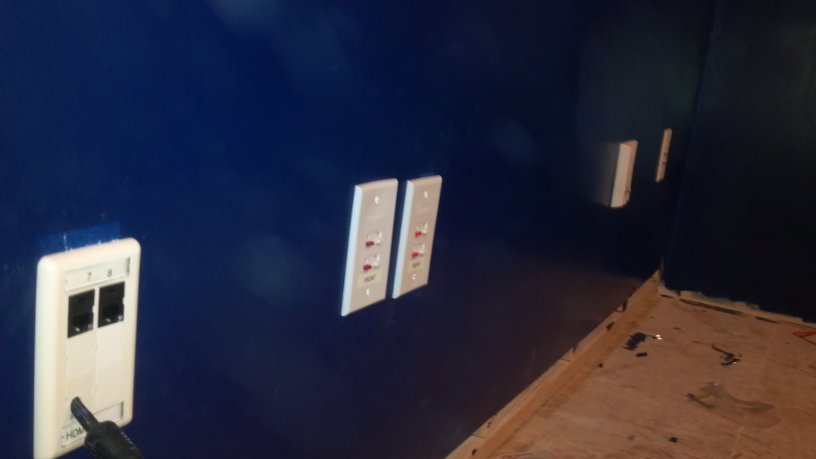
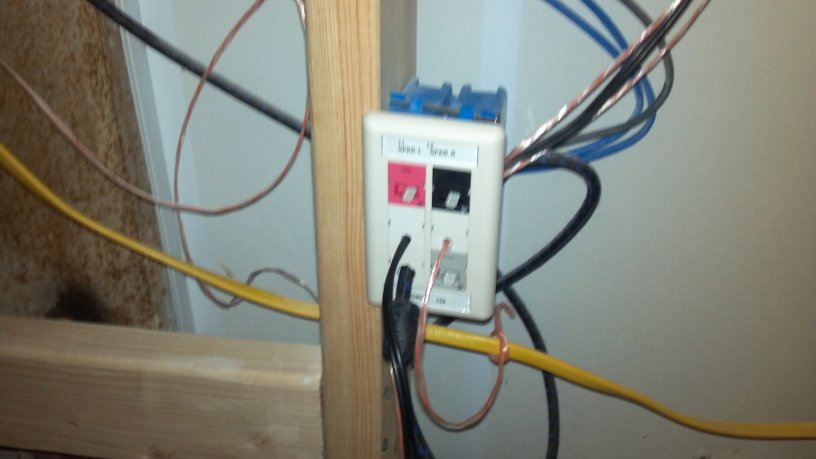
Jacked the network lines in the room, and at the patch panel... no more dangling blue lines at the DMarc.
Have a lot of shit to do tomorrow but hopefully I will have time to solder the speaker wires to the jacks and then I can take a couple pics of all the lovely, finished, faceplated jacks.
Finishing my basement
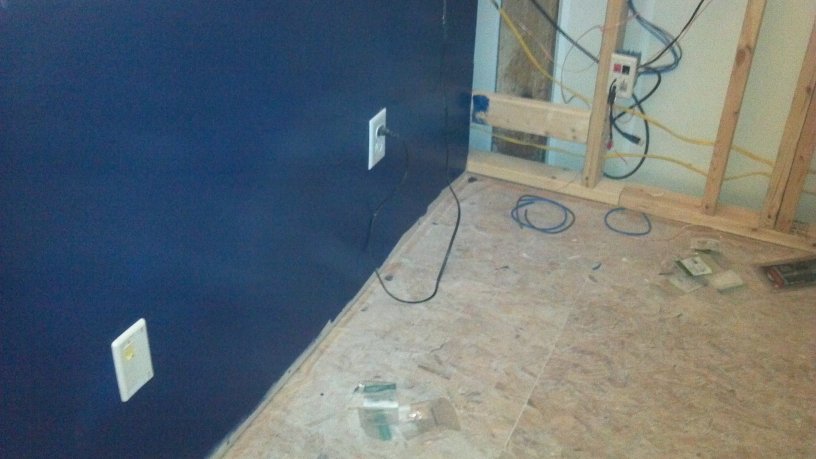


Bought some laminate flooring for the computer area.
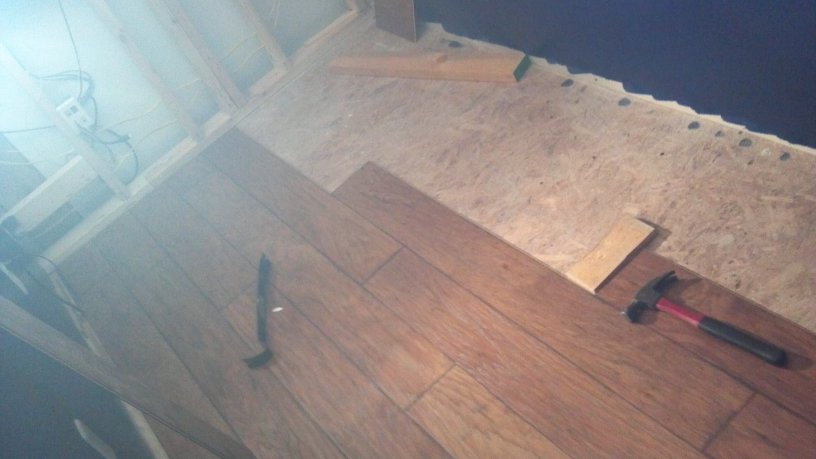
I spent about 3 days doing the first 2 rows over and over, trying to figure out how to do it. Directions on the little paper insert were pretty much too small to read, and there weren't any diagrams... very useful. Ultimately went to Youtube and looked up how to install this particular style of laminate and the only half way decent video was an exasperated couple saying, "We finally figured it out after 2 days, and I can't imagine trying to install it with fewer than 3 people."
But I got the information I needed, and I started running it.
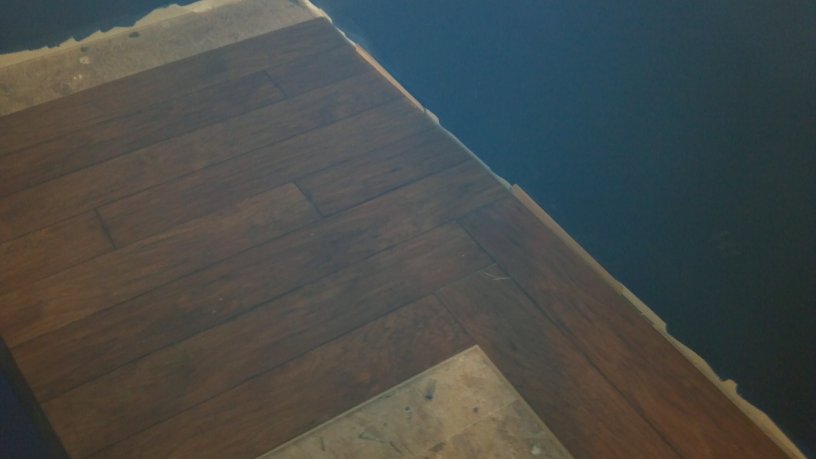
Started running them diagonal... I did a couple test rows, and decided that I didn't want to do all the 45 degree angles. Also, my saw blade was generating a lot of smoke, and the inside edge where I was cutting was scorching from the heat. So, I went and picked up another blade, and none of them said, "Use this one for laminate flooring," so the guy told me to use a general purpose one with small teeth. Not as small as a finishing blade, but small.
So, now I am using that blade and I am still getting smoke but now I am also getting sparks, of all things, when I cut through this stuff. What the hell.
The pics look hazy... that's because after 8 cuts my basement is full of smoke and I will finish it later when the smoke dissipates.
Flooring: $175ish
Saw blade: $15
I spent about 3 days doing the first 2 rows over and over, trying to figure out how to do it. Directions on the little paper insert were pretty much too small to read, and there weren't any diagrams... very useful. Ultimately went to Youtube and looked up how to install this particular style of laminate and the only half way decent video was an exasperated couple saying, "We finally figured it out after 2 days, and I can't imagine trying to install it with fewer than 3 people."
But I got the information I needed, and I started running it.
Started running them diagonal... I did a couple test rows, and decided that I didn't want to do all the 45 degree angles. Also, my saw blade was generating a lot of smoke, and the inside edge where I was cutting was scorching from the heat. So, I went and picked up another blade, and none of them said, "Use this one for laminate flooring," so the guy told me to use a general purpose one with small teeth. Not as small as a finishing blade, but small.
So, now I am using that blade and I am still getting smoke but now I am also getting sparks, of all things, when I cut through this stuff. What the hell.
The pics look hazy... that's because after 8 cuts my basement is full of smoke and I will finish it later when the smoke dissipates.
Flooring: $175ish
Saw blade: $15
"Be bold, and mighty forces will come to your aid."
So's your face!GORDON wrote:That doesn't even make sense.
“Activism is a way for useless people to feel important, even if the consequences of their activism are counterproductive for those they claim to be helping and damaging to the fabric of society as a whole.” - Dr Thomas Sowell
Been busy recently, so just getting the flooring finished up:
Base trim on the left was a leftover piece from another project and I just wanted to see how it looked.
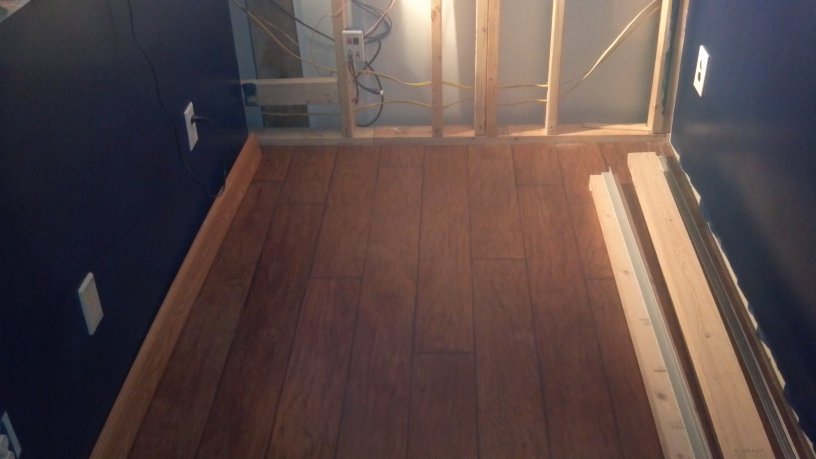
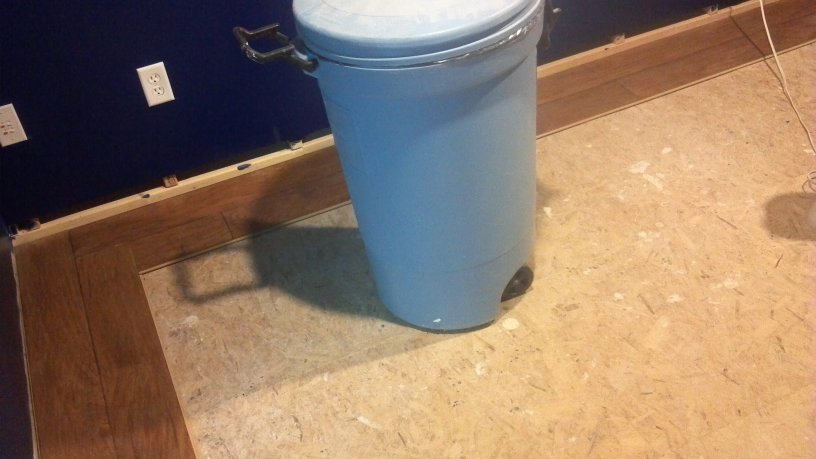
Last second design decision: I was planning on carpeting the other part of the room, but suddenly I had the idea of running a border around the room 2 panels deep, both because it would look neat and for the bookshelves to sit on. I will still be carpeting the bit in the middle.

I figured this way I don't need to put the shelves on carpet, which never seemed like a good idea to me.
Base trim on the left was a leftover piece from another project and I just wanted to see how it looked.
Last second design decision: I was planning on carpeting the other part of the room, but suddenly I had the idea of running a border around the room 2 panels deep, both because it would look neat and for the bookshelves to sit on. I will still be carpeting the bit in the middle.
I figured this way I don't need to put the shelves on carpet, which never seemed like a good idea to me.
"Be bold, and mighty forces will come to your aid."
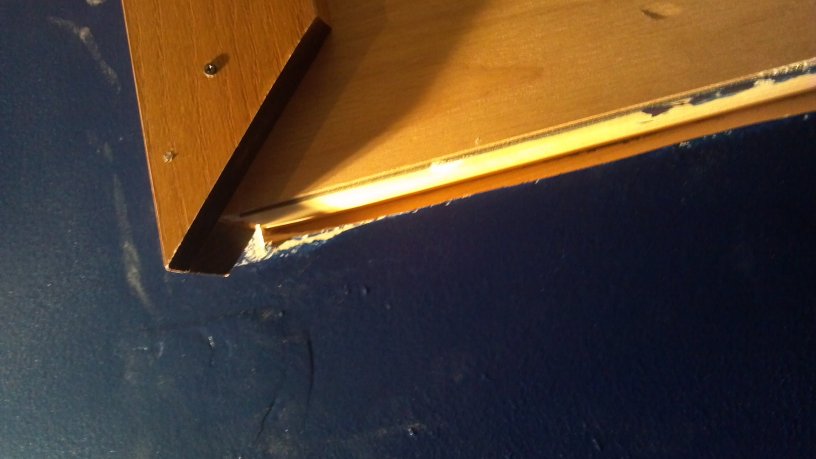
Today was kind of screwed up. In between getting little sleep, early-morning scramble to learn about the water heater and then fix it, going to the local community college annex to teach my "How To Be as Awesome as Me" class, and then going to pick up my kid from school early to do some things, I also managed to make a run for trim, and framed this in. A Man can do such things; specialization is for insects.
3 sticks of casing trim: $32
Running total: $2015
3 sticks of casing trim: $32
Running total: $2015
"Be bold, and mighty forces will come to your aid."
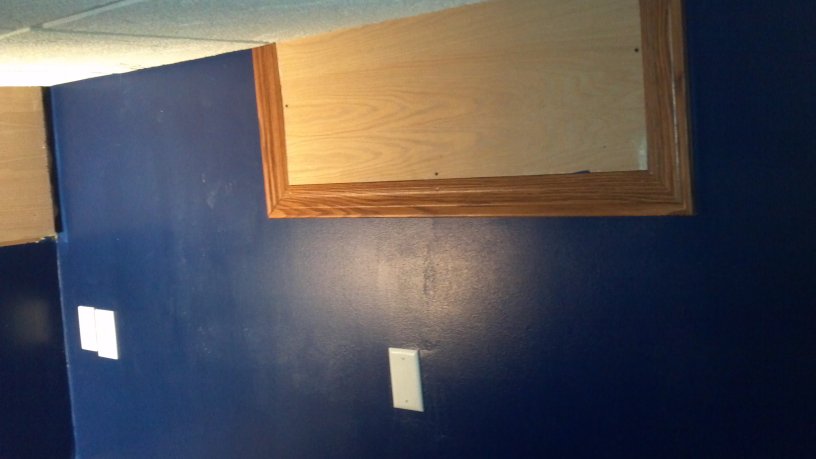
Went on another run... bought some pre-finished oak to box in the remaining crawl space access, and bought the rough wood that I will use to frame up the built-in desk.
But today was all about the crawl space access:
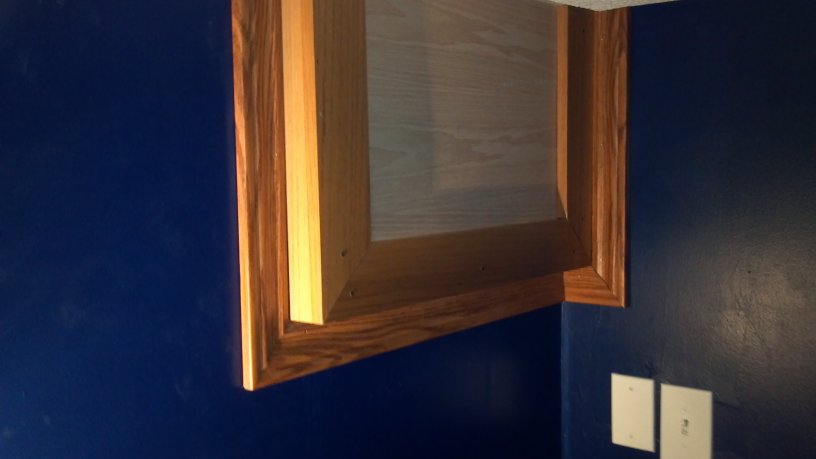
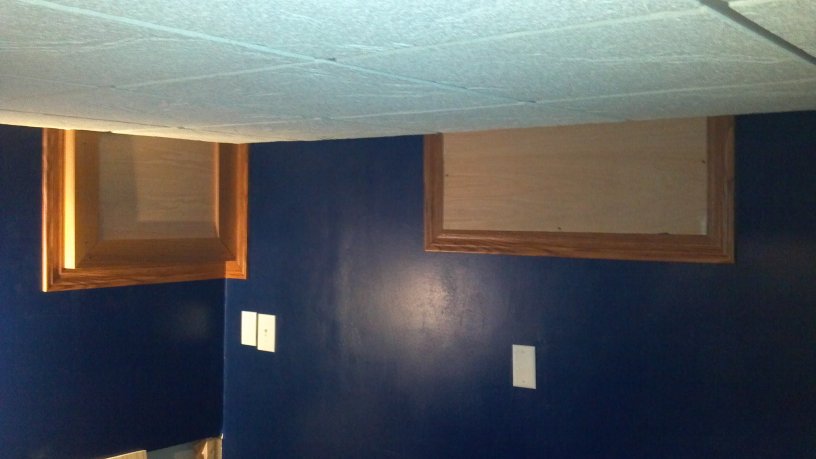
Pretty happy with how that came out. Whenever I need to get into that crawl space, I just move 2 ceiling tiles and remove the screws. Easy.
More wood: $60.
Running total: $2075
But today was all about the crawl space access:
Pretty happy with how that came out. Whenever I need to get into that crawl space, I just move 2 ceiling tiles and remove the screws. Easy.
More wood: $60.
Running total: $2075
"Be bold, and mighty forces will come to your aid."