Finishing my basement

For stuff that is general.
Post Reply
GORDON
Site Admin
Posts: 56735
Joined: Sun Jun 06, 2004 10:43 pm
Location: DTManistan
Contact:

Post by GORDON »

Got a single panel hung on the south wall, where the TV wall will be.

Image

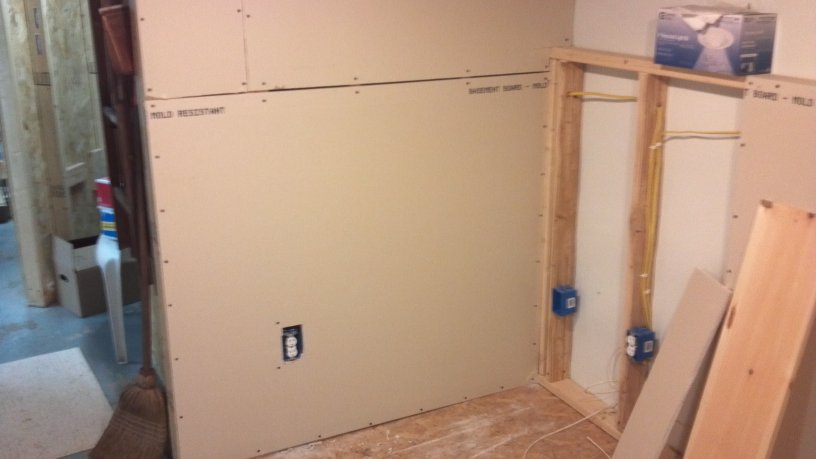
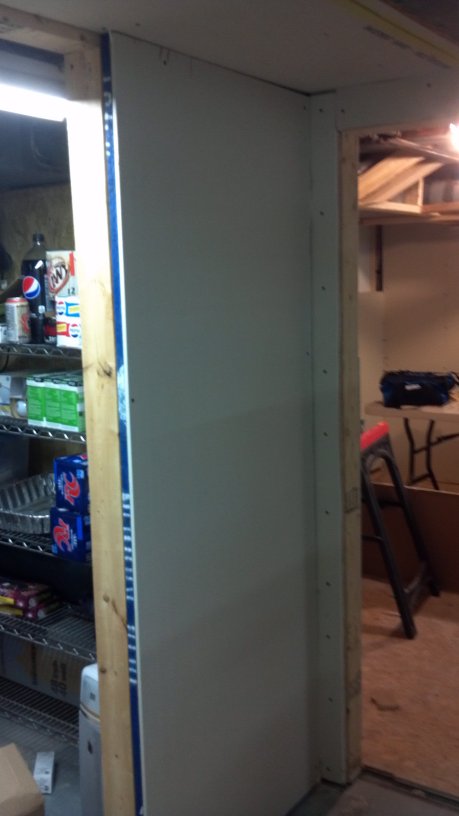
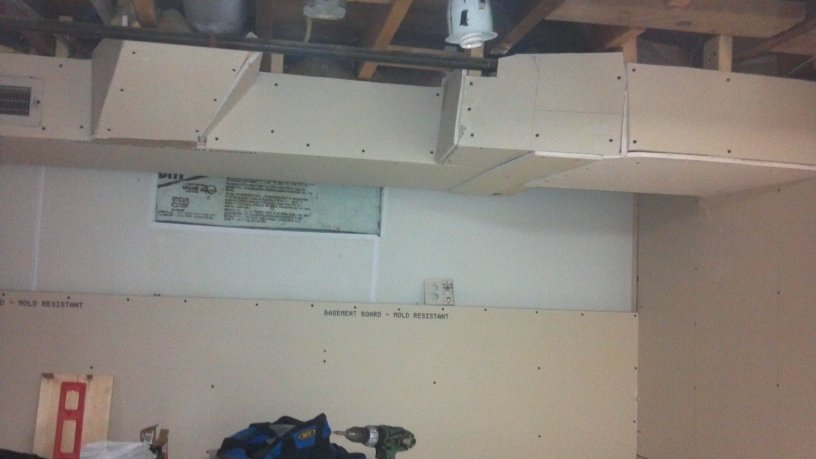
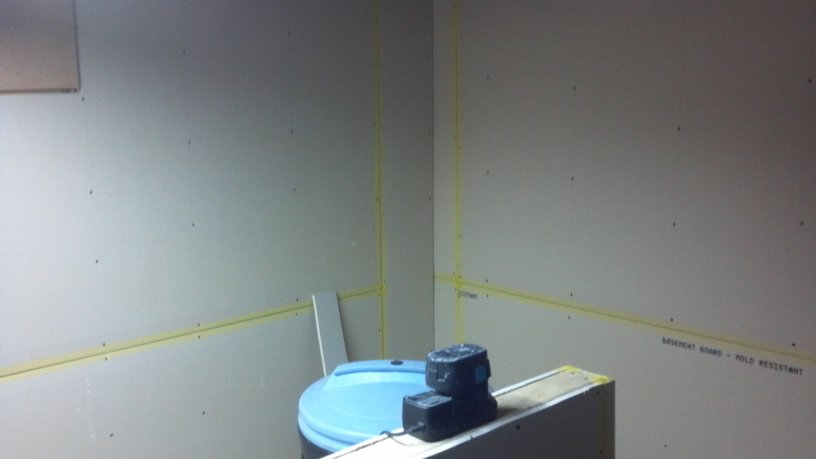
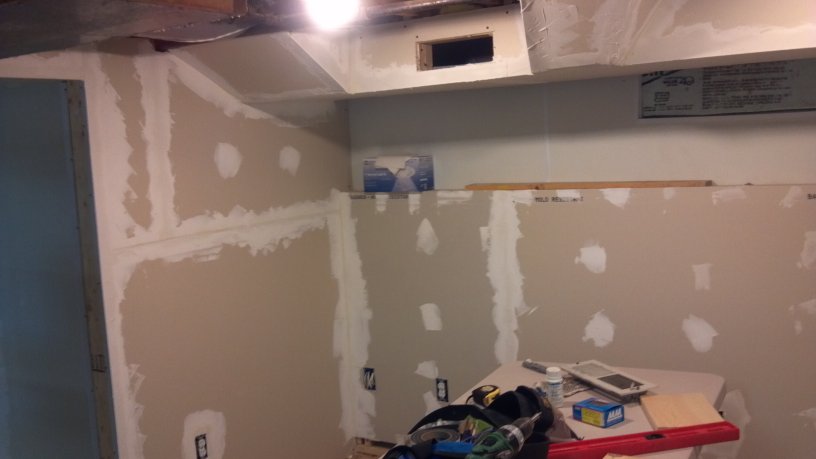
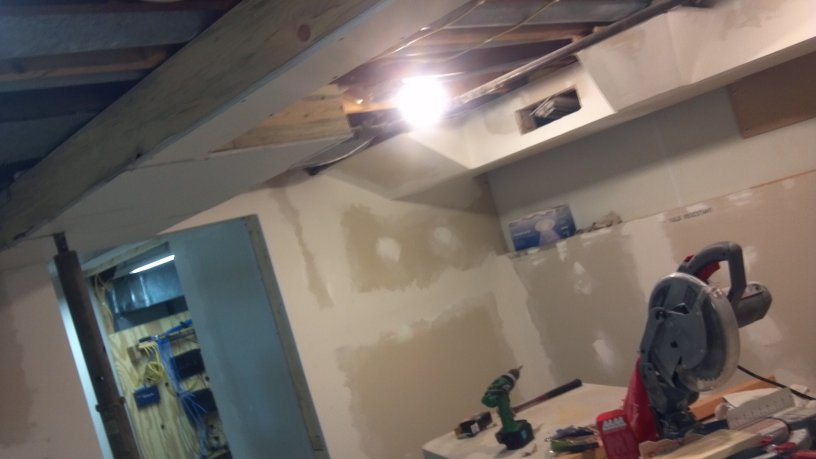
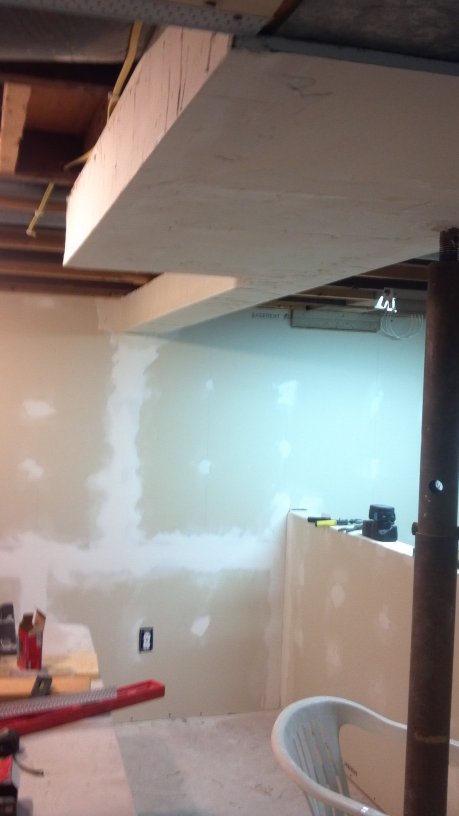
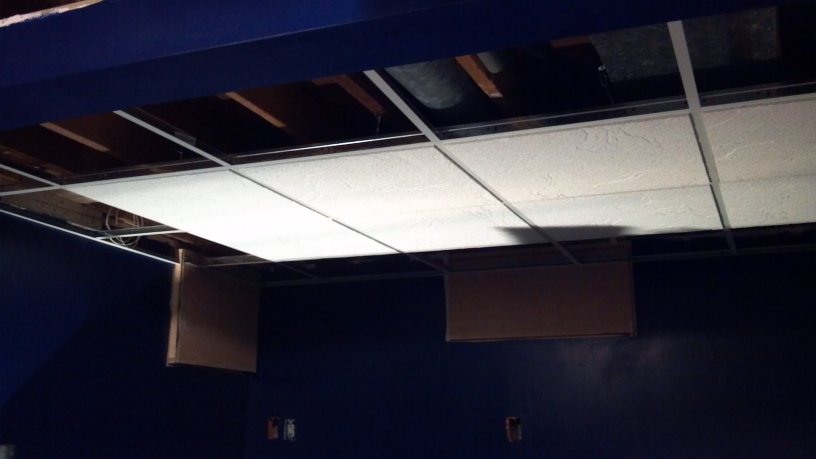
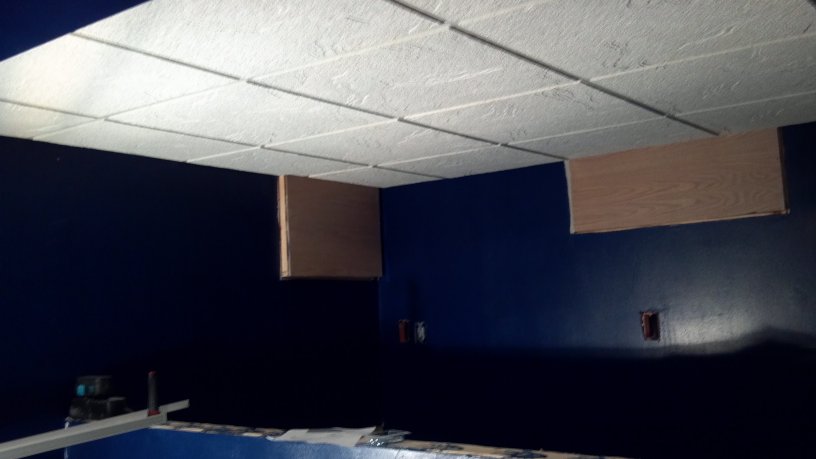
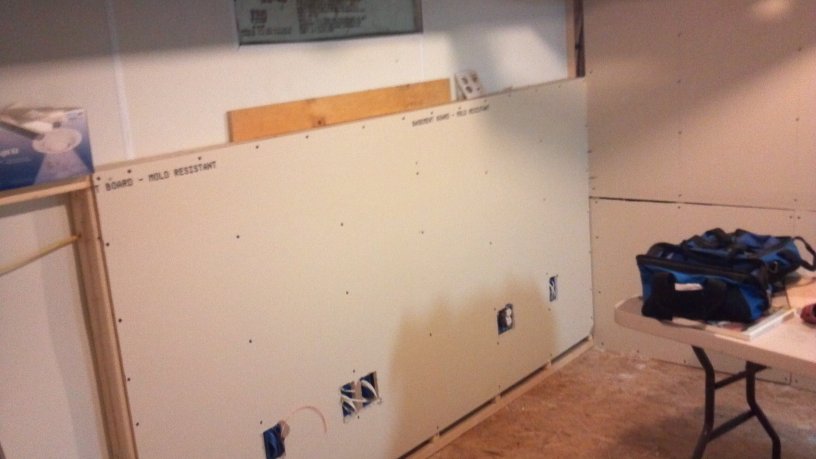
Only had time to hang one because of the 5 outlet cutouts I had to do. Those are time consuming and tedious.

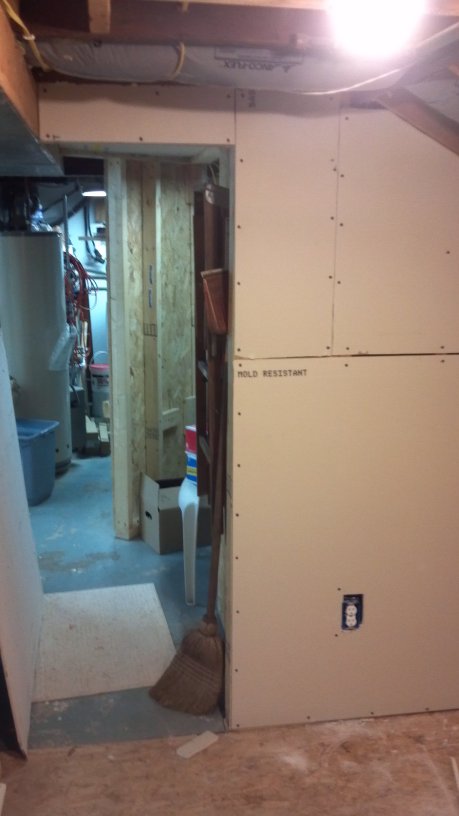
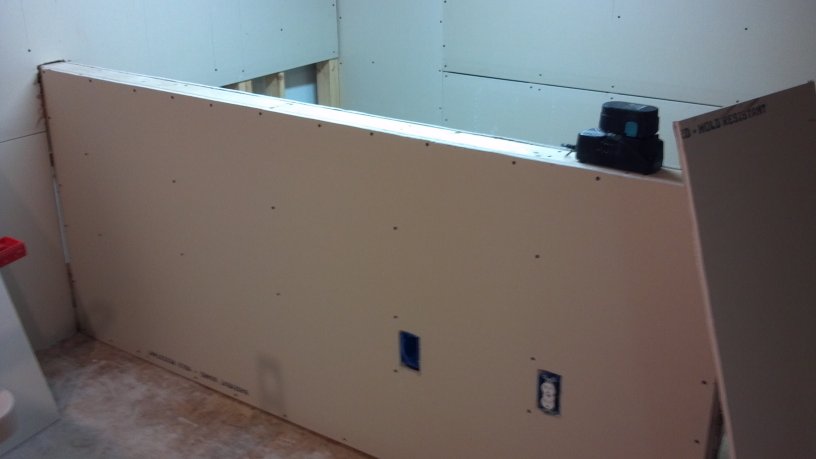
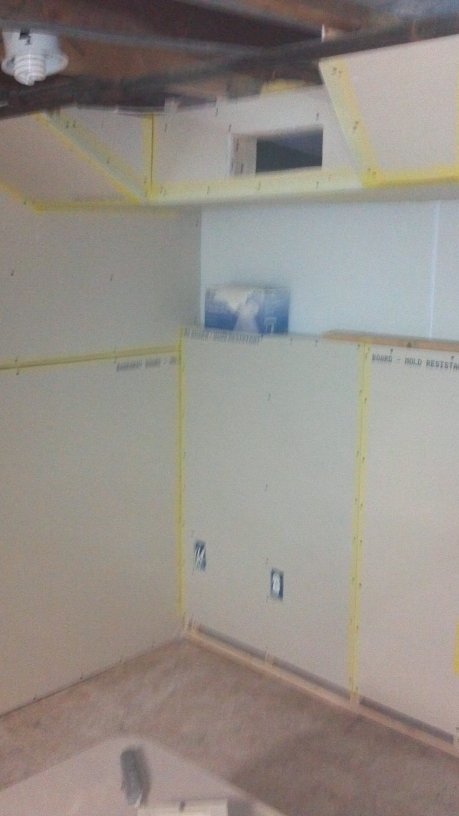
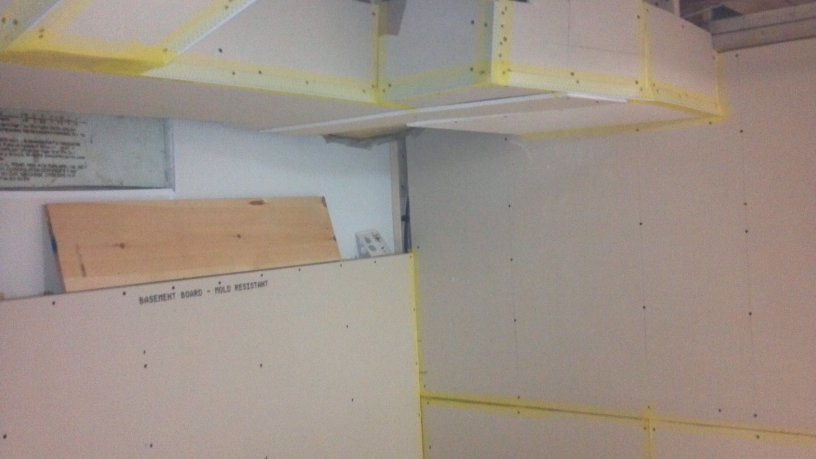
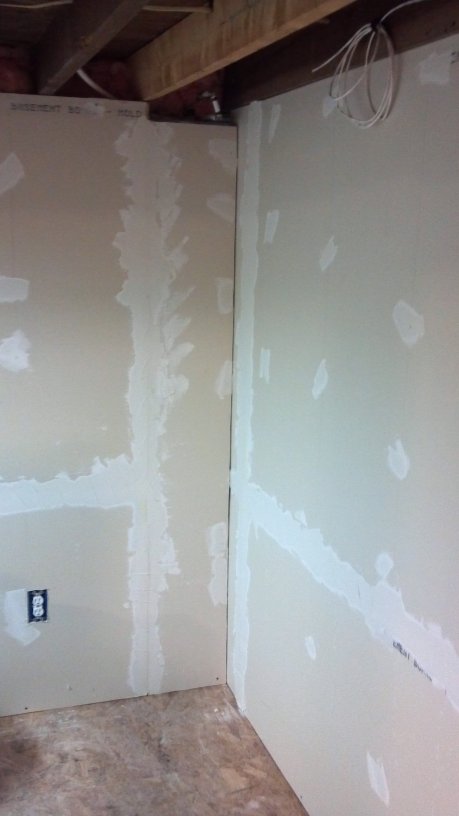
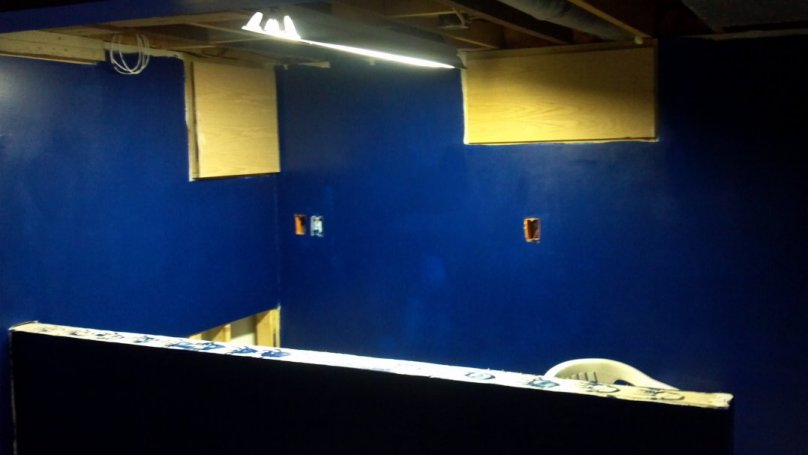
Also, yes, there is a 3-inch gap at the bottom... originally it was a calculation mistake. I was going to have the wall be exactly as high as a single drywall sheet to minimize cutting, and I cut the wall studs to that length, but of course I forgot to factor in the thickness of the top and bottom plates. SO, I left the 3-inch gap at the bottom with the expectation of just covering it with the baseboard, and I will tell people I did that on purpose so I will have easy access behind the wall for future wire runs, and pretend I was brilliant for thinking of that ahead of time.


Edited By GORDON on 1345738349
"Be bold, and mighty forces will come to your aid."
GORDON
Site Admin
Posts: 56735
Joined: Sun Jun 06, 2004 10:43 pm
Location: DTManistan
Contact:

Post by GORDON »

Finished drywalling the SE corner wall, next to the room entrance.

Image

Image

That was actually just 1 sheet of drywall, cunningly cut to fill the existing space.
"Be bold, and mighty forces will come to your aid."
User avatar
Cakedaddy
Posts: 9480
Joined: Thu May 20, 2004 6:52 pm

Post by Cakedaddy »

Is it just me, or is that outlet opening really big?!
GORDON
Site Admin
Posts: 56735
Joined: Sun Jun 06, 2004 10:43 pm
Location: DTManistan
Contact:

Post by GORDON »

You shut up.
"Be bold, and mighty forces will come to your aid."
GORDON
Site Admin
Posts: 56735
Joined: Sun Jun 06, 2004 10:43 pm
Location: DTManistan
Contact:

Post by GORDON »

Purchased what should be the last 3 sheets of drywall, some more utility knife blades, screws, and a roll of insulation for wrapping the duct work before I enclose it.

$50.

Running tally: $1330.
"Be bold, and mighty forces will come to your aid."
GORDON
Site Admin
Posts: 56735
Joined: Sun Jun 06, 2004 10:43 pm
Location: DTManistan
Contact:

Post by GORDON »

Cut up those last 3 pieces of drywall. Finished everything that is getting a big sheet.... meaning everything except the small pieces around the duct work. That gets done tomorrow.

This is the other side of the half wall, finally done.

Image

And these 2 bits are just for cosmetics... not in my room, but I can see the walls when coming and going through the basement laundry room, so it will look just a little bit nicer whenever I pass through.

Image

Image
"Be bold, and mighty forces will come to your aid."
GORDON
Site Admin
Posts: 56735
Joined: Sun Jun 06, 2004 10:43 pm
Location: DTManistan
Contact:

Post by GORDON »

Started enclosing the duct work today.

First I wrapped 2 sides of it with insulation. Don't need any on the bottom, really, since heat rises, and the back side of the duct work isn't getting "finished" with drywall, so if I feel like I am having too much heat escape from back there this winter, I will do something about it, then.

First this is a part of the south wall I did yesterday, but forgot to get a pic of.
Image

Insulation tucked onto the top and one side.
Image

Been saving all of my drywall scraps in anticipation of this part... I have so many that I can usually find a piece that is already the correct length in one of the dimensions, and I only need to make a single cut to make it fit.
Image

Image

It will obviously be prettier once I get it taped, mudded, and sanded.
Image

I would have had it finished today, but I bought the wrong screws yesterday (requiring a square driver instead of the phillips that I have been using up to now), and I didn't have a square bit with which to drive them. Double dumbass on me.

SO I went and bought some square bits for the drill, some more tape, more mud, a cheap power sander, and some corners. Hope to have the last of the drywall screwed up tomorrow, and all of the scrap out of the basement. Then I can start taping, mudding, and sanding.

Spent $70.

Running total: $1400.
"Be bold, and mighty forces will come to your aid."
GORDON
Site Admin
Posts: 56735
Joined: Sun Jun 06, 2004 10:43 pm
Location: DTManistan
Contact:

Post by GORDON »

I have momentum... I want to get this done... just did a little more after supper. Finished the duct work.

It looks a little rough like this, but I think it'll look pretty cool once it is all finished out. I decided I wanted a weird modular-looking thing. I think it is coming out well.

Image

Image

Image
"Be bold, and mighty forces will come to your aid."
GORDON
Site Admin
Posts: 56735
Joined: Sun Jun 06, 2004 10:43 pm
Location: DTManistan
Contact:

Post by GORDON »

I think all the prep work is done prior to mudding. I have vinyl corners on the corners, and taped up all the seams.

Cornered.

Image

Image

Taped.

Image

Image

Image

Image

Going to TRY to get the first application of mud on tonight, so I can sand and remud tomorrow.

Inertia. Can't lose it.
"Be bold, and mighty forces will come to your aid."
GORDON
Site Admin
Posts: 56735
Joined: Sun Jun 06, 2004 10:43 pm
Location: DTManistan
Contact:

Post by GORDON »

MUD. Had a third of a gallon left from the outside wall, and had a new gallon for when that ran out, and I still only got about 40% of the room mudded. Went to buy a new gallon, hoping that would be enough. A gallon is about $7. A few feet away are the big contractor tubs of the stuff... 4.5 gallons of the exact same thing for $11. Yep, got the monster one.

Image

Image

Image

Tomorrow when it is dry I will sand it, and depending on how long that takes I might apply the 2nd layer. You go over and over it until smooth. I won't get subsequent pics of this process, they will pretty much all look the same from layer to layer.

See ya when I get the last crawl space hole covered...
"Be bold, and mighty forces will come to your aid."
GORDON
Site Admin
Posts: 56735
Joined: Sun Jun 06, 2004 10:43 pm
Location: DTManistan
Contact:

Post by GORDON »

GORDON wrote:See ya when I get the last crawl space hole covered...
Image
"Be bold, and mighty forces will come to your aid."
GORDON
Site Admin
Posts: 56735
Joined: Sun Jun 06, 2004 10:43 pm
Location: DTManistan
Contact:

Post by GORDON »

I burned through my budget, and had to wait for the new budget cycle to start buying more materials.... namely, paint and primer.

But, I kept looking at the unsightly I-beam and furnace air return that went through the middle of the room... and kept looking at my pile of wood and drywall scrap... and decided to enclose it instead of just cleaning it up and painting it.

Boxed up.
Image

Image

Taped and cornered.
Image

Mudded.
Image

$13 for 2 long 1x6's, and 2 sticks of corners, so I didn't need to cobble together a bunch of scraps.


Edited By GORDON on 1349123445
"Be bold, and mighty forces will come to your aid."
GORDON
Site Admin
Posts: 56735
Joined: Sun Jun 06, 2004 10:43 pm
Location: DTManistan
Contact:

Post by GORDON »

Big Project is all but done, and had a little money in the budget, so I went and bought paint and painting accessories. Spent $130 on 3 gallons of paint/primer blend, and rollers and another gallon of mud.... I decided I wanted a light texture to cover any oopses from my sanding. The chick at Menard's said to dilute some mud down to pancake batter consistency, and roll it on with a nappy roller. So I started doing that... did 2 walls, and decided I didn't like it.

Then it dried and looked better, so now I might like it... so I don't know what to do.

Anyway, Menard's is having an 11% off everything sale, so I decided to borrow against future budget by buying half of my drop-ceiling stuff, too, while I can get it on sale. So I spent another $250 on that stuff. The majority of that cost was in the 2x2 panels I chose, which were $7 each. The cheapest ones were $1 each. These were a little more expensive than average, but they look good.

Painting this weekend.

Anyway, total cost: $1793.


Edited By GORDON on 1351360089
"Be bold, and mighty forces will come to your aid."
GORDON
Site Admin
Posts: 56735
Joined: Sun Jun 06, 2004 10:43 pm
Location: DTManistan
Contact:

Post by GORDON »

Was torn on whether or not to finish texturing the walls... so I checked on my nappy roller which sat in the refuse bin overnight, and it was still damp and usable, so I decided to go ahead and just do it all.

So I did. Good decision, I think it will look good, now.

One unexpected benefit: Lots of dust still on the walls from all the sanding, so running a wet roller over them all took care of the dust. Unexpected bad result: there were a few spots where dust was perfectly disguising an imperfection in my sanding, and now what I thought was a perfect sanding job is showing a few imperfections. Oh well. Character!

Painting tomorrow.
"Be bold, and mighty forces will come to your aid."
GORDON
Site Admin
Posts: 56735
Joined: Sun Jun 06, 2004 10:43 pm
Location: DTManistan
Contact:

Post by GORDON »

First coat today... it is the bluest blue since Blue came to Bluetown. It's dark paint on drywall, so no pics yet because it looks terrible. Will get some tomorrow if I have time to get the second coat on.

In fact, once could say it is the color of...

Image

I took my kid's TARDIS toy in to color match, in fact.
"Be bold, and mighty forces will come to your aid."
GORDON
Site Admin
Posts: 56735
Joined: Sun Jun 06, 2004 10:43 pm
Location: DTManistan
Contact:

Post by GORDON »

Second coat is on... fixed 85% of the ugly of the 3rd coat. I still have an unopened 3rd gallon of paint, so there will be a 3rd coat. I am really wishing I had gone with flat instead of semigloss... the gloss is highlighting ever sanding mistake and I sort of hate it.

Here's a pic that was taken when I was still sanding. The dust mask was a life saver, possibly literally. I wont ever sand again without an $8 mask.

Image


Some gray, a lotta dust.

Here's the room thus far. One wall is still wet, but I can tell I need one more coat to be happy with it.

Image

Image

Image
"Be bold, and mighty forces will come to your aid."
GORDON
Site Admin
Posts: 56735
Joined: Sun Jun 06, 2004 10:43 pm
Location: DTManistan
Contact:

Post by GORDON »

Drop ceiling!

This represents about 6 hours of work... but 1.5 hours of that was spent watching youtube videos, getting my head wrapped around the concept of installing a drop ceiling. There's lots of different pieces and I didn't even know wtf. And interestingly, the software on the internet that calculates what materials you will need was inaccurate, and I figured it out, and it made me second guess myself because THE COMPUTER SAID I NEEDED MORE STUFF.

But I was right. So the grid is installed, and I put up all the pieces that didn't need to be cut. The tiles I got are recessed and hang below the grid a bit, so I went tonight and bought a knife designed for cutting those coffered bits out of the tiles that I cut down to size.

So far I am very happy with it.

Image
"Be bold, and mighty forces will come to your aid."
User avatar
unkbill
Posts: 4056
Joined: Sat May 22, 2004 8:19 pm

Post by unkbill »

You misled people when you said that Menards is having an 11% off sale. You get 11% back on your purchase in a card to buy more stuff at Menards. We did it on Wats bathroom. Because I know I was going to buy more stuff there.
In marriage there is always one person right. And the other one is the husband.
GORDON
Site Admin
Posts: 56735
Joined: Sun Jun 06, 2004 10:43 pm
Location: DTManistan
Contact:

Post by GORDON »

Well, yeah, I know I will be going there a lot, so it is still 11% off.
"Be bold, and mighty forces will come to your aid."
GORDON
Site Admin
Posts: 56735
Joined: Sun Jun 06, 2004 10:43 pm
Location: DTManistan
Contact:

Post by GORDON »

Getting all my 11% off receipts in the mail today... I will be getting $40 back for the next round of materials.... probably some laminate flooring for the computer area.

Anyway, drop ceiling is done, and I am very happy with it.

Image

Image

Image

Cutting the panels to size around the border took the most time, each one about 15 minutes. Each panel is 3 cuts each: First cut to size, and the second and third cuts to get the coffered edge (the bit that allows it to hang 1/4" below the grid). Corner pieces are 6 cuts each. And each one has to be nice and slow and steady... fortunately the only fuckup in cutting I made was on a big piece, and I was able to repurpose it into a smaller piece in the corner.

My first subflooring install, first electrical wiring (and my house hasn't burned down yet), first drywalling, and now first drop ceiling. I think it came out pretty good, and I even had the foresight to build in accesses for when I need to get into the crawl spaces.

Here's some things I am not happy with:

I can't believe how shitty my walls look. As I mentioned before, I thought my sanding job was 99% of perfect, but once all the loose dust came off now I see nothing but places that need more sanding. The dust was filling in all the cracks and crevasses. Then I made the mistake of using semi-gloss paint, and now the imperfections are perfectly highlighted when the light reflects off the paint.

Also, some of my outlet fixtures are not at the correct depth, they are too far into the wall, and the covers look shitty when they aren't flush with the outlet.

So my walls are pretty much a disaster of Hurricane Sandy proportions. Yeah, I went there. So, I am quickly trying to get my mind switched over to, "Well, it's just a basement."

Sigh.

Too lazy to get another gallon of flat paint, of course, so how upset could I possibly be...


Edited By GORDON on 1352137584
"Be bold, and mighty forces will come to your aid."
Post Reply