Page 2 of 9
Posted: Thu Jan 20, 2011 4:36 pm
by unkbill
Ever dry and other companies don't use concrete like what you think of concrete in a basement. I think it is more of a fas drying hydrolic cement that doesn't get as hard as concrete.
Posted: Thu Jan 20, 2011 4:37 pm
by GORDON
Well whatever it is, it is too thin and sucks.
Posted: Fri Jan 28, 2011 9:45 pm
by Cakedaddy
What's the total cost so far?
Posted: Fri Jan 28, 2011 11:01 pm
by GORDON
Hmmm.
I think <s>$300.</s> $400. I thought I spent $150 the first round, but I went back to the first post and I said $250. So $400 total, so far.
Not counting the $50 I spent on 4 rolls of pink insulation. That wasn't technically part of this project.
Edited By GORDON on 1296273962
Posted: Sat Mar 12, 2011 3:23 pm
by GORDON
Spent and installed another $75 on sub flooring. Nothing picture-worthy, just keeping the running tally of costs.
Posted: Sat Mar 12, 2011 7:47 pm
by GORDON
I was out and about tonight, and bought more materials. Add $85 to the running tally, bring the total to $560.
On a side note, I bought a hammer drill the other day and used it today to drill holes in the basement floor for anchoring Tapcons.... it was like drilling into butter and I am kicking myself for not owning a hammer drill before now.
Posted: Wed Mar 23, 2011 8:52 pm
by GORDON
Spent $115 on enough flooring to finish the floor. Will post a couple pics when I get it done.
Running tally: $675.
Posted: Fri Feb 17, 2012 12:41 pm
by GORDON
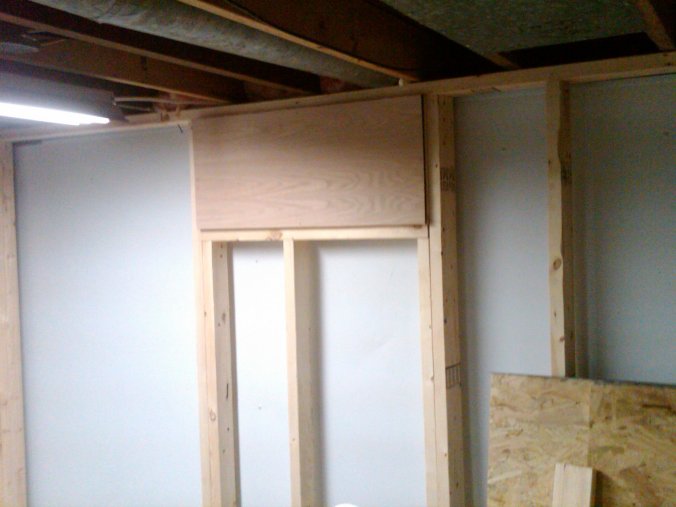
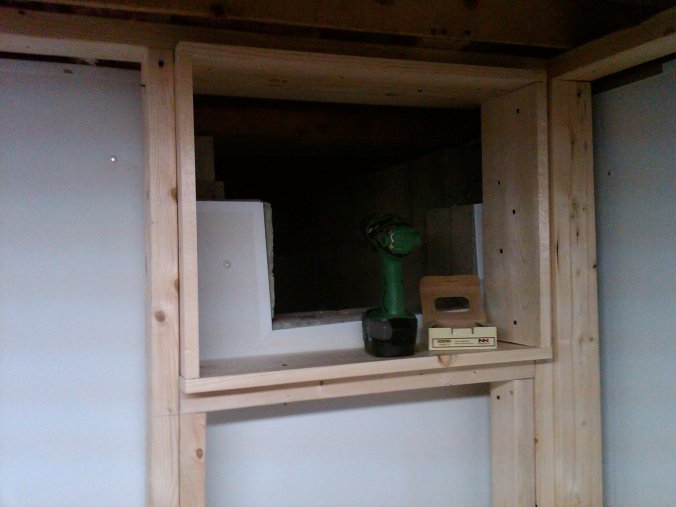
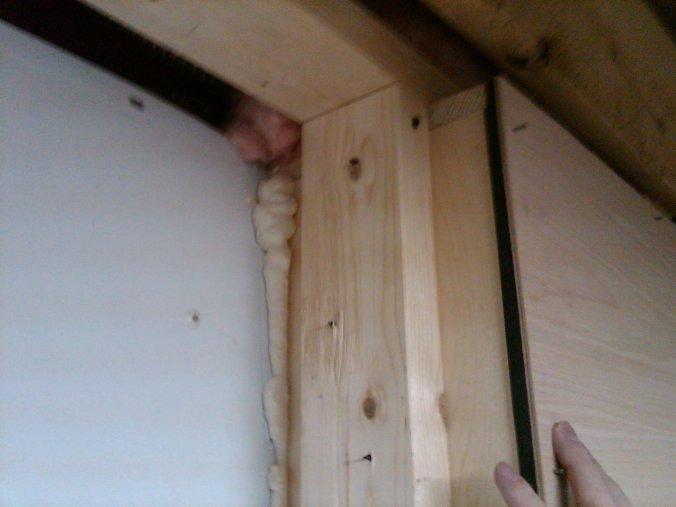
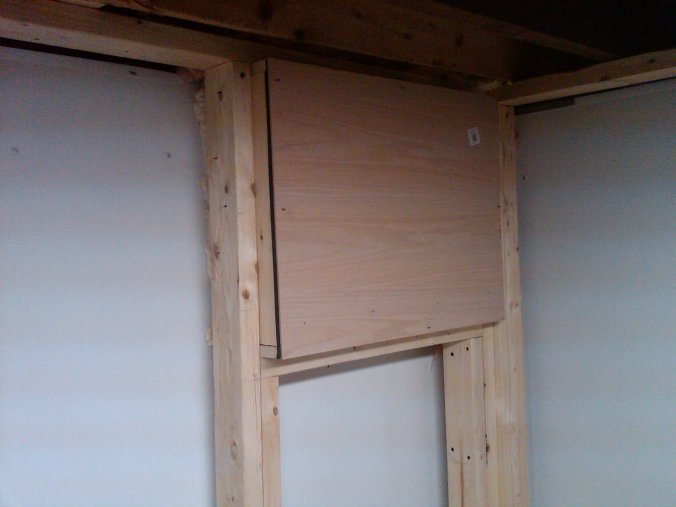
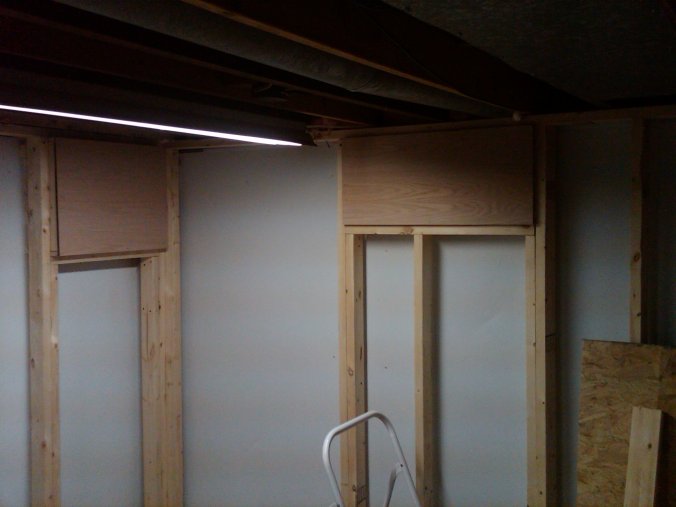
GORDON wrote:The open spaces at the top of the new plywood aren't really open. There's a floor joist up there. I will probably stuff that area with insulation and put a strip of plywood straddling those 2 joists for further sound proofing.

That was before.
This is after:
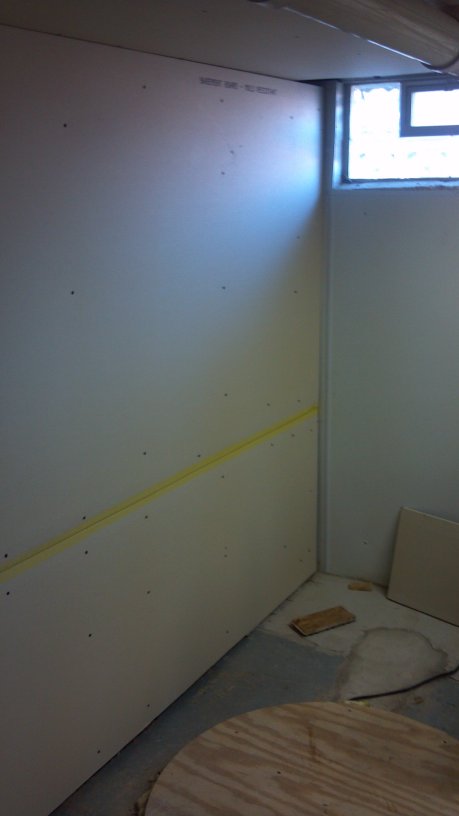
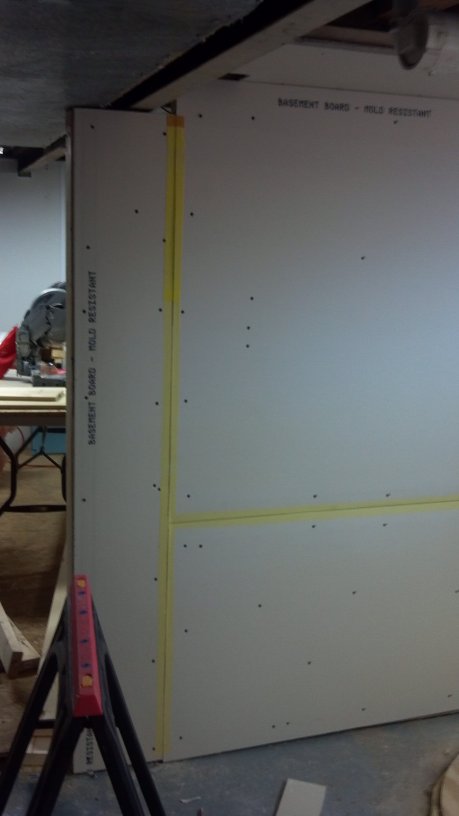
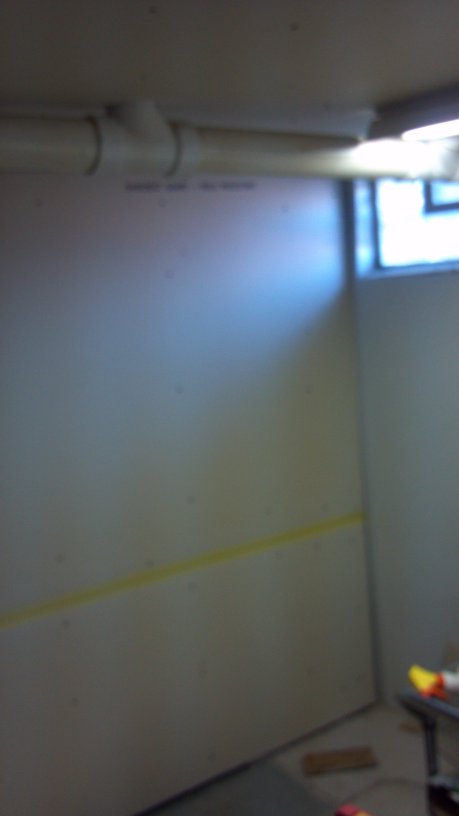

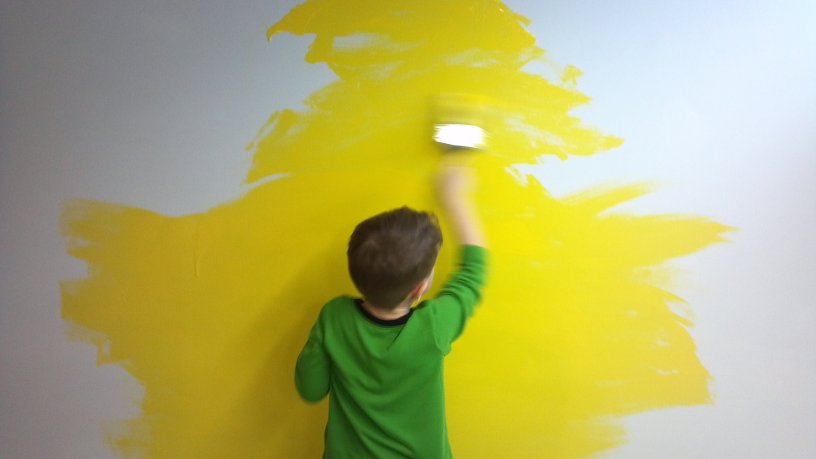
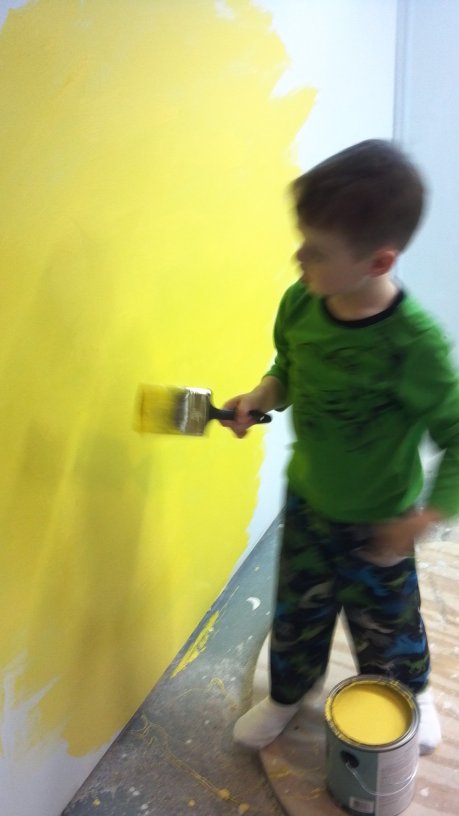
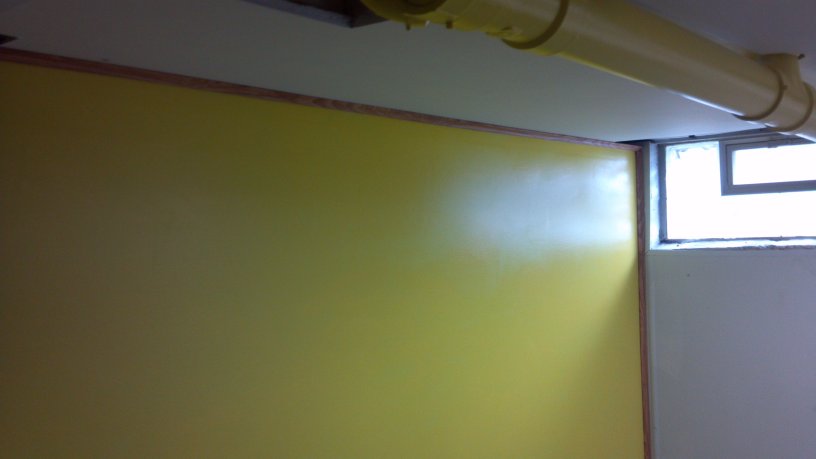
This was my first experience doing drywall. Lessons learned: imperfections with your sanding will not be hidden by 2 layers of primary and a layer of paint, and put covers over everything you don't want coated under a layer of dust during the sanding.
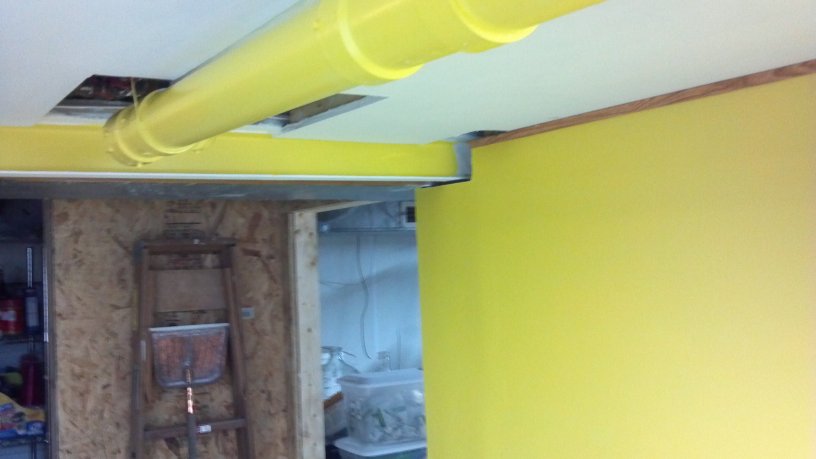
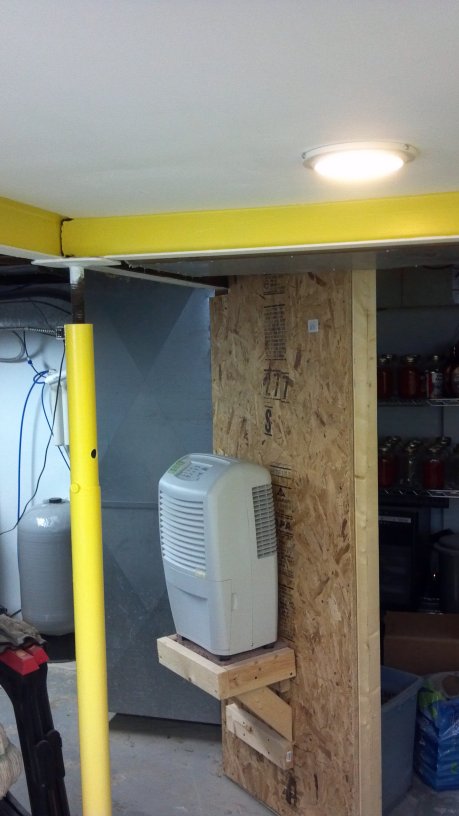
Also that is a recessed light fixture I installed to replace an old-timey fixture that was just screwed to the unfinished ceiling in between floor joists.
Spent about $160 on drywall, mud, screws, nails, trim, light fixture, shelves (not pictured), primer, and paint (paint is fucking expensive, wtf). Wanted to get the wife's laundry-side of the basement done and finished and pretty so she has one less thing in life to complain about. Yellow is so it will be brighter down there.
Next: finish framing the man cave walls, and get it wired for sound, data, and power. I believe the money is already in the bank.
Posted: Fri Feb 17, 2012 12:44 pm
by GORDON
Running tally: $835.
Posted: Fri Feb 17, 2012 6:51 pm
by Cakedaddy
I'm going through the house and re-mudding all the spots I mudded before and thought were good enough until we started painting. Mudding is hard.
Posted: Fri Feb 17, 2012 7:00 pm
by GORDON
Cakedaddy wrote:I'm going through the house and re-mudding all the spots I mudded before and thought were good enough until we started painting. Mudding is hard.
I did about 4 mud/sanding cycles before I decided to go with the primer. (Maybe 3, I forget. I do know that I bet I can get it in 2 applications next time, now that I know what to do.) Just a glance and a random person wouldn't notice, but I know where to look so I always see the imperfections under the paint. Lesson learned.
More than good enough for a basement laundry room.
Posted: Sat Feb 18, 2012 7:44 pm
by unkbill
I mix mud with my primer and use a heavy napped roller. It gives the wall a little texture that helps hide even more sins.
Posted: Thu Feb 23, 2012 2:37 pm
by GORDON
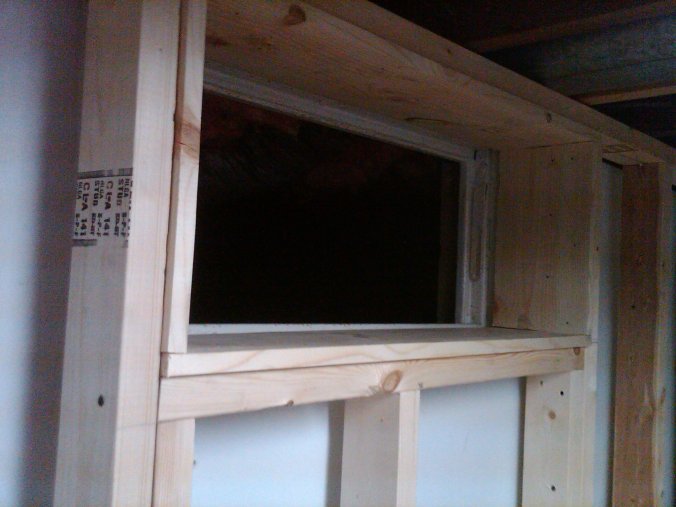
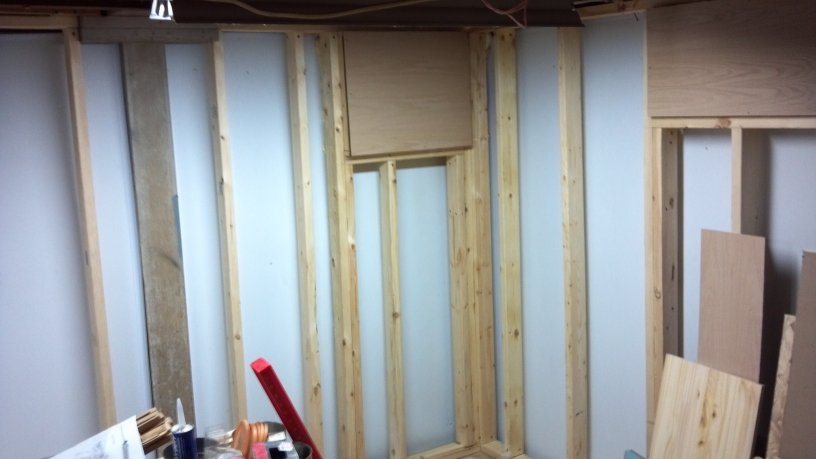
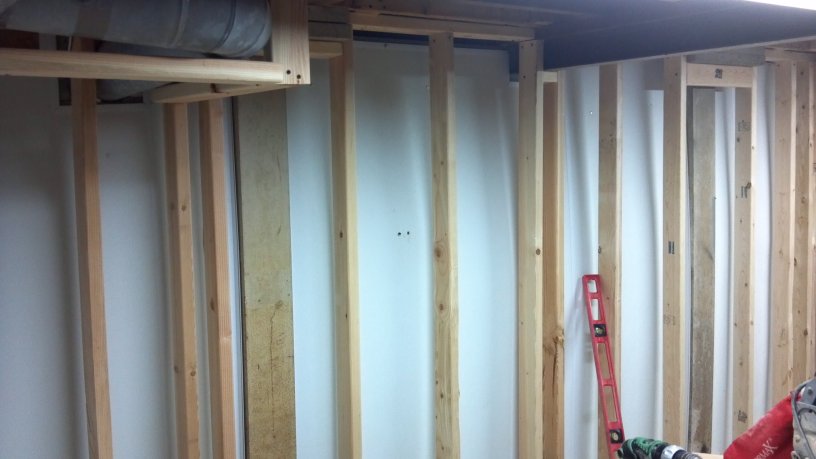
Ran to the lumber yard this morning before the weather moved in, got another dozen 2x4's.
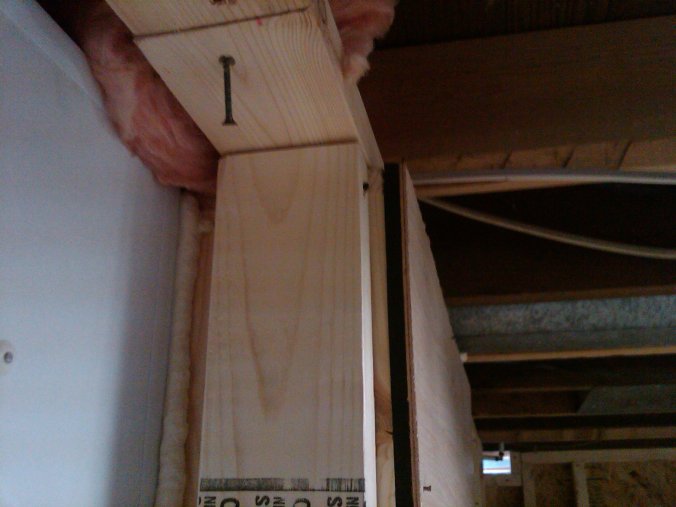
Put up a few more studs on the west wall, and removed an outlet that was there, that I didn't want buried inside the wall. Knowing it was there would bug me forever. The 2 little fang marks is where it was anchored to the wall.

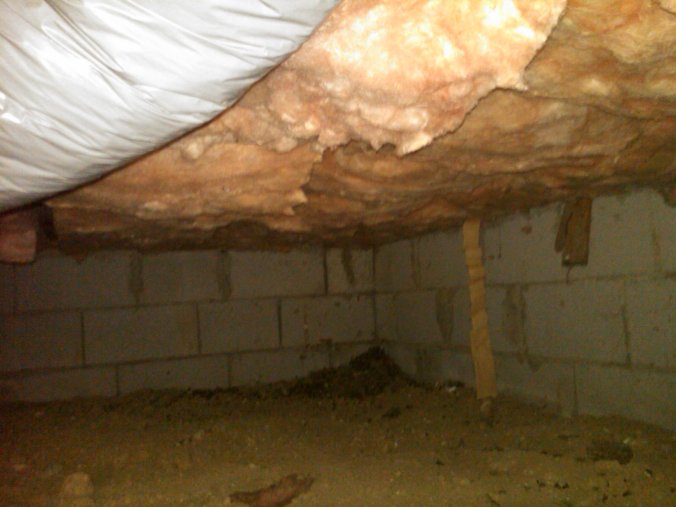
And yes, the wall is bowed out, from time and pressure. At some point in the past it was reinforced with those vertical steel beams you can see in some of the pictures. I marked it last year to see if I could detect any further expansion, but so far I haven't detected any. I can't dig out the opposite side of the wall to relieve pressure, because that is crawl space behind there, with about 2 feet of access. Dumb situation.
Before I continue on tomorrow, I need to figure out what I am going to do about the duct work on the ceiling on the south side of the room. I can't leave it exposed.
Posted: Thu Feb 23, 2012 8:57 pm
by unkbill
The technology is here. I think you could do the same with heat. No more heating pipe.
http://news.bbc.co.uk/2/hi/technology/8618161.stm
Posted: Fri Feb 24, 2012 3:00 pm
by GORDON
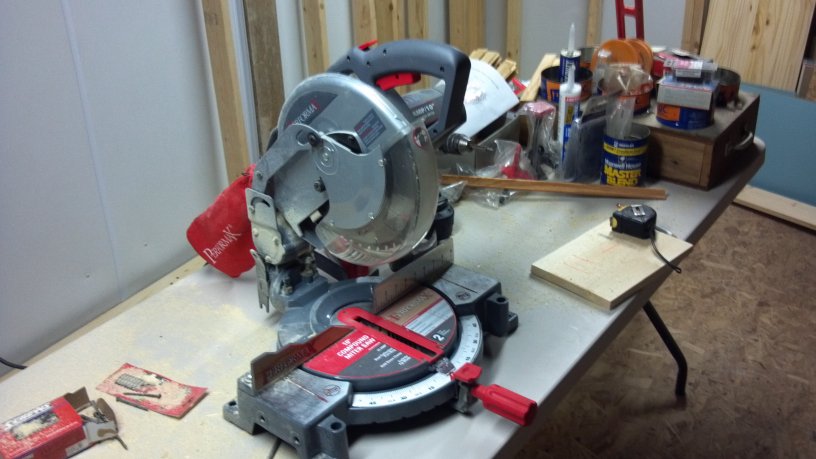
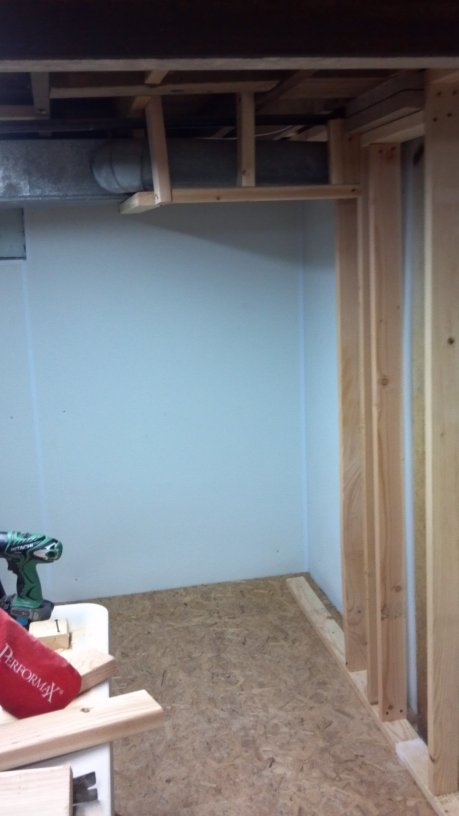
I have finished the west wall, for the most part. Ran myself completely out of screws.
No idea what to do with the south wall and duct work, so I started framing it in, thinking I could enclose it in drywall and make it look cool. The original plan was to leave the south wall unframed, as it would be behind the big TV, and if I ever needed to get into that crawl space I can't build a new wall there because it would make the gap between the heating duct and wall too narrow. But, leaving it unframed and unfinished, I think, will look like shit. No idea what I want to do. I am really stuck for the ideas. I need to get some artisans down there to have a look and see what they come up with.
Posted: Sat Feb 25, 2012 3:30 pm
by GORDON
Just spent $100 on electric wiring, boxes, and a couple new breakers for the breaker box. 250' of 12-2 wire was $70.
Running tally: $935
Edited By GORDON on 1330201851
Posted: Sat Feb 25, 2012 8:40 pm
by GORDON
unkbill wrote:I mix mud with my primer and use a heavy napped roller. It gives the wall a little texture that helps hide even more sins.
How much mud do you put in a gallon of primer? Just guestimate a dollop? I may do that in the main room.