Page 9 of 9
Posted: Thu Mar 06, 2014 2:49 pm
by GORDON
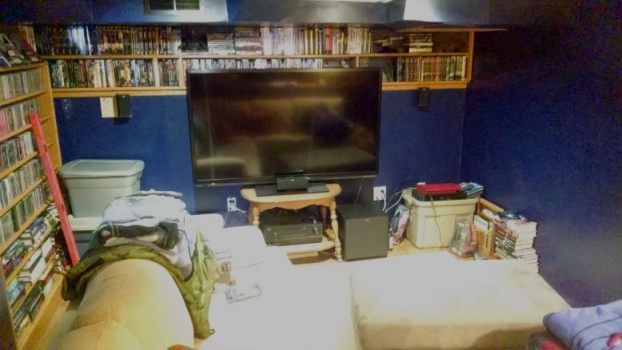
The lack of construction progress for the last year... aside from the times when I was on an extended project... was because, for the most part, this space station is fully armed and operational.
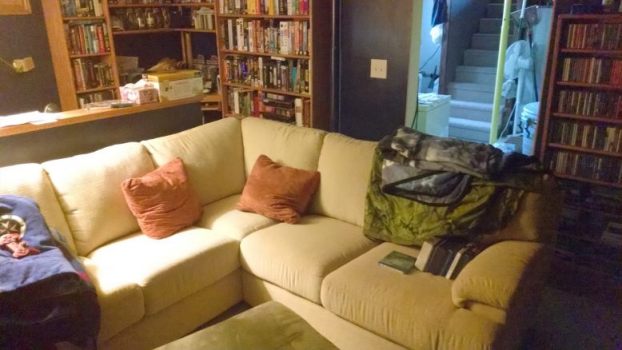
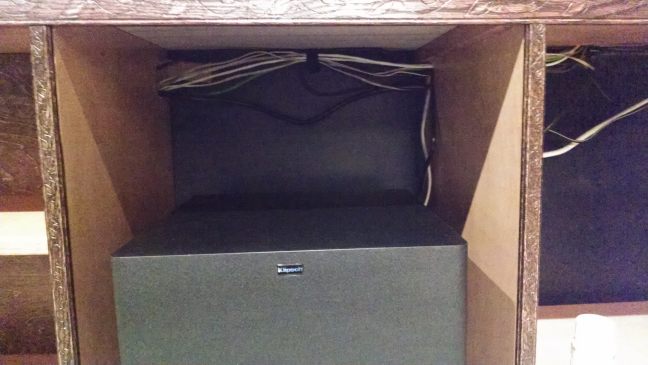
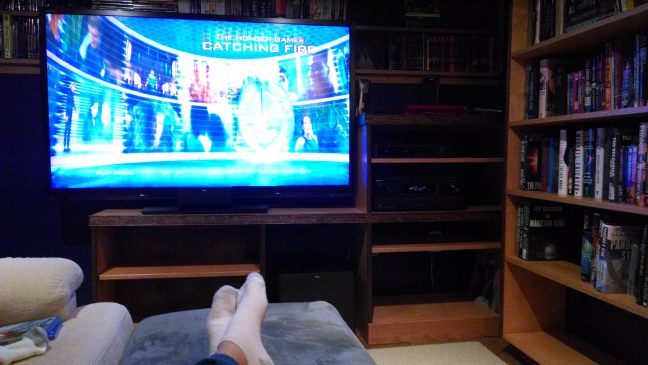
Got the big TV, the surround sound speakers, and the couch where "my spot" has my eyeballs are centered exactly 8'6" from a 60" screen. It is perfect. The TV was recycled from upstairs but the receiver and speakers cost a few shekels, as did the big couch, so that was the construction budget, for a while.
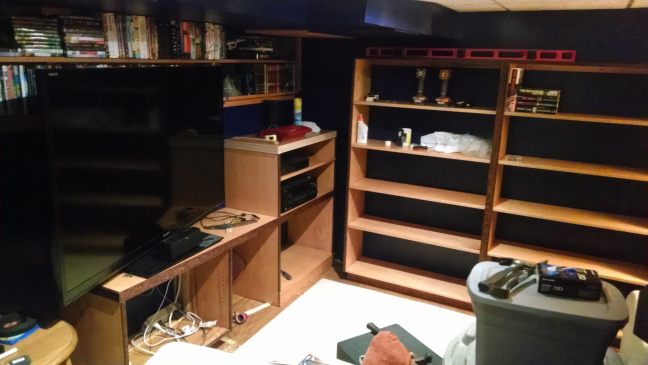
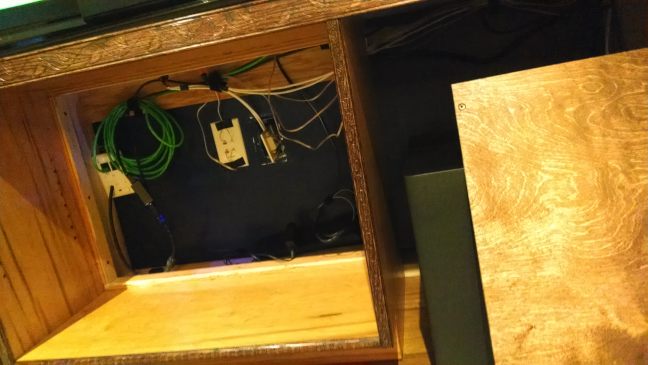
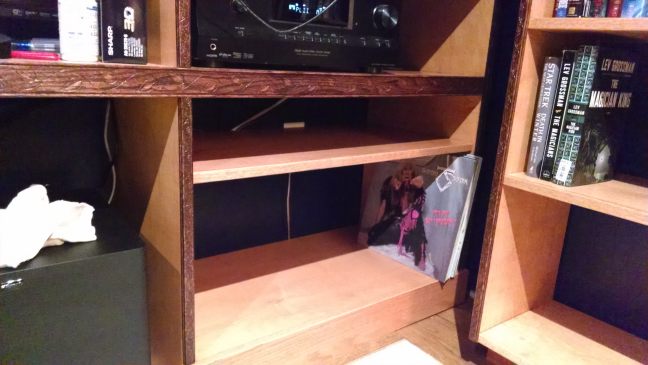
So, it is functioning as a complete media room, it just aint 100% yet. The bins and shit are full of books that are going on the final shelves, and there will be a proper area for the electronics.
Posted: Thu Mar 06, 2014 3:20 pm
by Vince
Looks good!
Posted: Mon Mar 10, 2014 8:49 pm
by GORDON
GORDON wrote: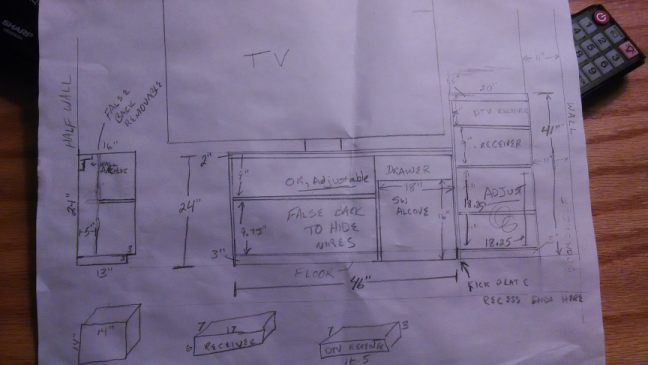
Bought the wood for this and the bookshelves.
Spent: $200
Running total: $3202.
Seems that the high-end furniture you buy in the store has you paying about 15% for actual materials and 85% for labor/overhead.
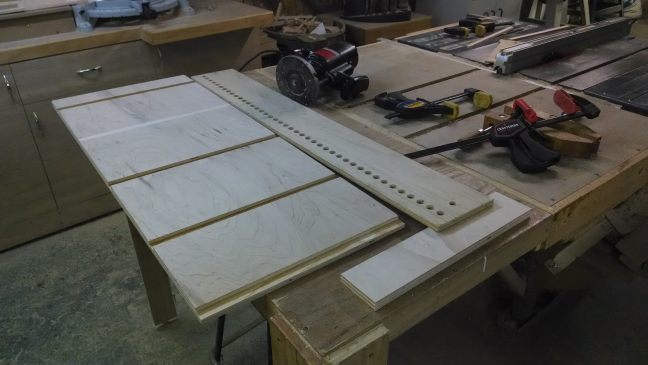
Posted: Tue Mar 11, 2014 11:13 am
by GORDON
This is 95% of the wood that is going to build the above sketch, only the backing and trim is not shown. Cut and ready to assemble. The wood for the other shelves as partially cut to size - my wall is a little goofy so we need to scribe some things so it fits correctly. We will be putting it all together this weekend, most likely.
Posted: Sat Mar 15, 2014 8:40 pm
by GORDON
Posted: Sat Mar 15, 2014 8:52 pm
by TheCatt
Where do the 8 tracks fit?
Posted: Sat Mar 15, 2014 9:05 pm
by GORDON
Two answers, pick one:
1. Adjustable shelves... I can make them fit. Also, I have an 8-track to go on the shelves...
2. Up your butt.
Posted: Sun Mar 16, 2014 3:04 am
by TPRJones
Given your predilection towards outdated media, I'm guessing #1.
Posted: Sun Mar 16, 2014 6:05 am
by Cakedaddy
I have Beta vcr if you want it.
Posted: Sun Mar 23, 2014 9:43 pm
by GORDON
Quick update:
Everything is built and I am in the process of applying stain and poly. I realized that unlike last time, the basement is now full of cushiony furniture, and doing stain and poly is a very stinky process. As I don't want that smell soaking into the furniture, I am doing the finishing out in my frozen, wet-ass garage. It isn't pleasant, but at least I aint stinking the house up. Should have shit moved into the basement sometime this week.
Posted: Mon Mar 24, 2014 7:33 pm
by GORDON
Just returned some stuff I bought and didn't need.
Spent: $-35
Running total: $3232.
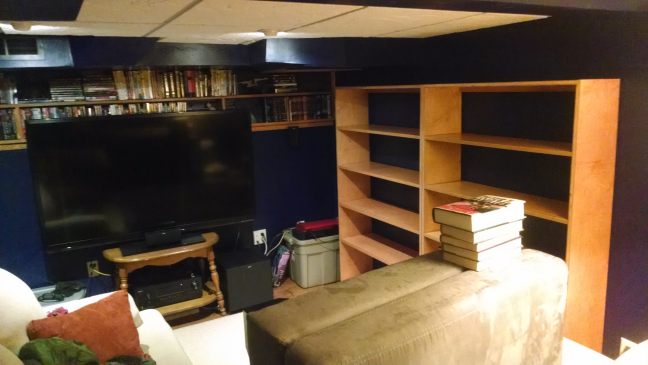
Hoping to have an install day this weekend when everything gets moved from the garage and nailed to the walls of the basement. Then there are a few touch ups of stain here and there, and a few pieces of baseboard to cut and place, then the basement is fucking done, man.
Posted: Sat Mar 29, 2014 4:04 pm
by GORDON
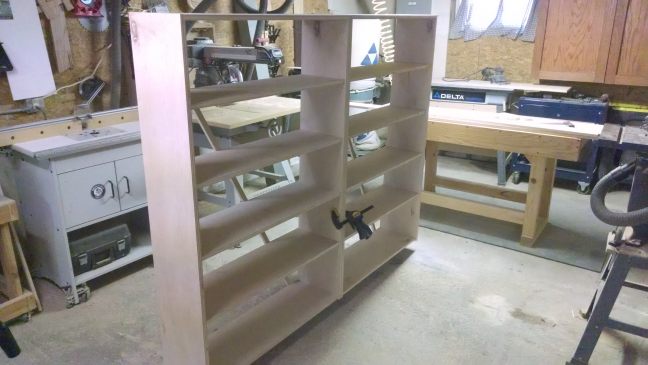
Got some catching up to do with my pics.
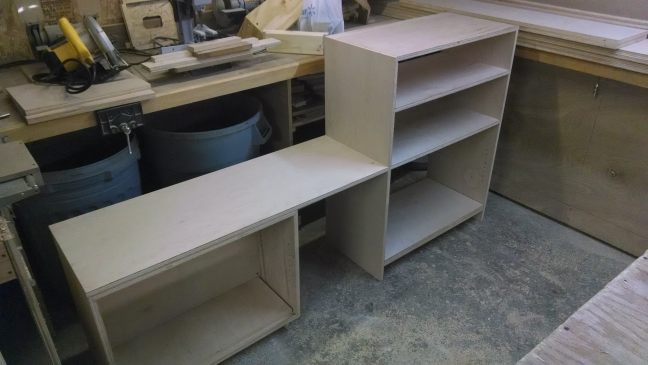
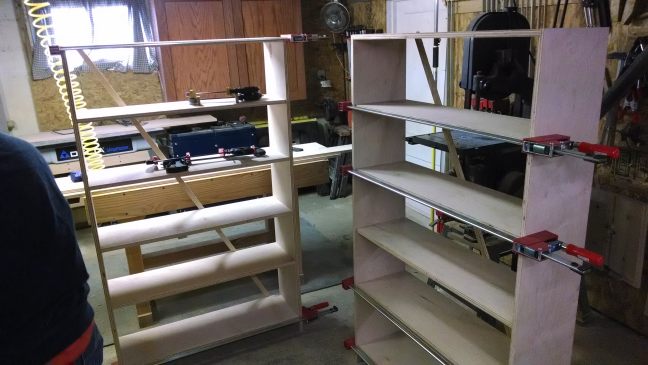
Here's when we finished the final shelves in the workshop a couple weeks ago.
Posted: Sat Mar 29, 2014 4:05 pm
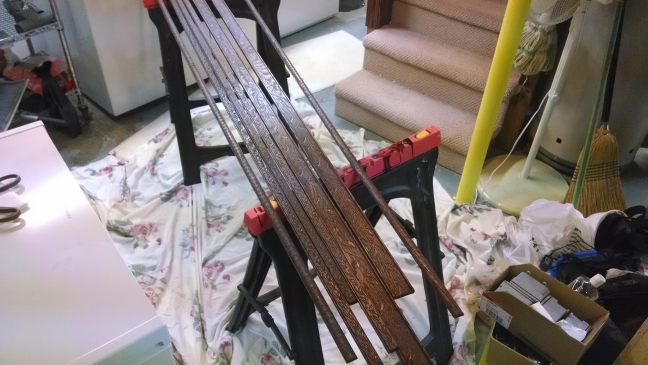
by GORDON
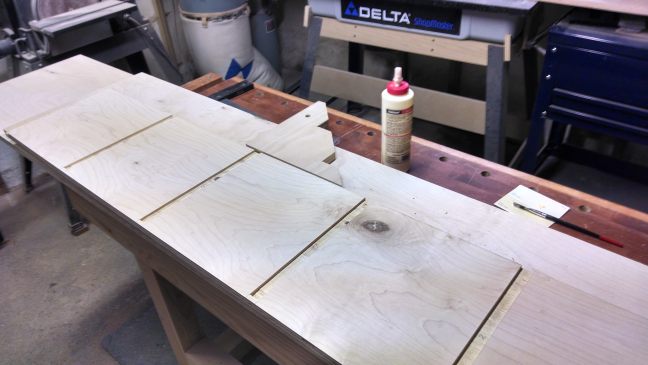
Here's where I was pre-staining the trim prior to nailing it to the furniture. I decided to go with 2 colors, so I did the trim separately from the rest so it could be nailed together already 2 different colors.
Posted: Sat Mar 29, 2014 4:08 pm
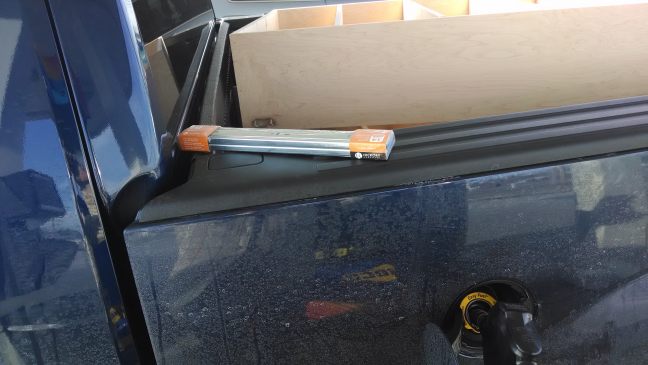
by GORDON
This is when I was transporting the cabinets from my buddy's house to home, and had to stop for gas, and realized I left the drawer rails sitting up on the side of the truck. Good thing I was going slow to minimize jostling.
Posted: Sat Mar 29, 2014 4:14 pm
by GORDON
Spent about 10 days staining everything in my cold, wet, flooded, frozen-ass garage, and started bringing stuff down to the basement.
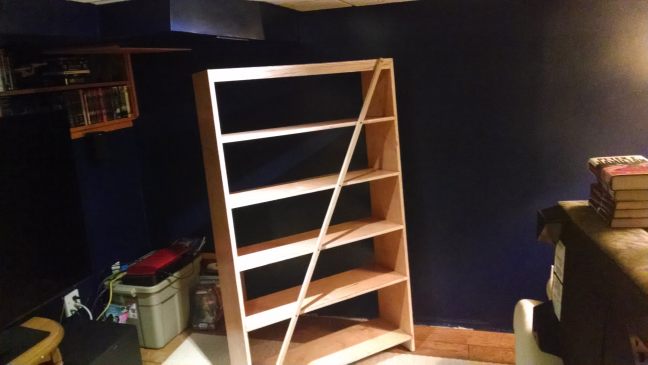
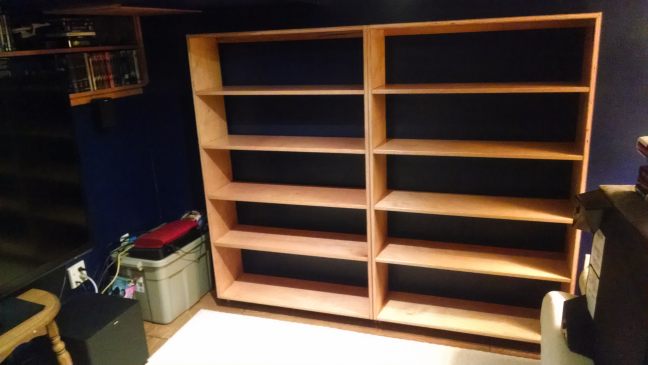
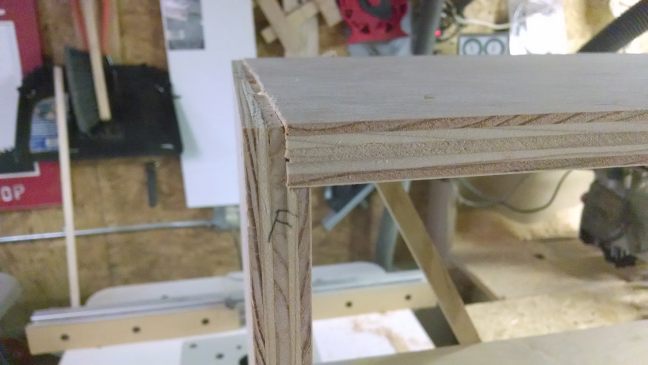
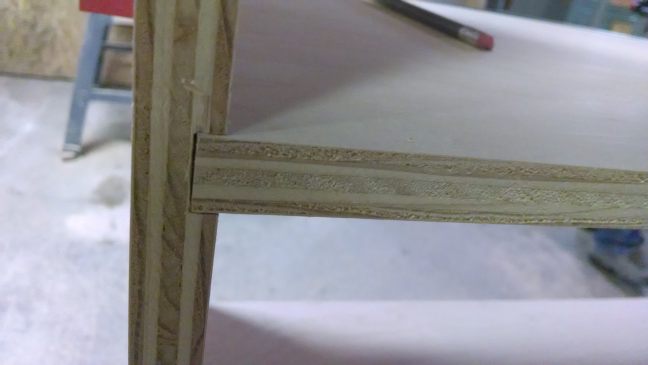
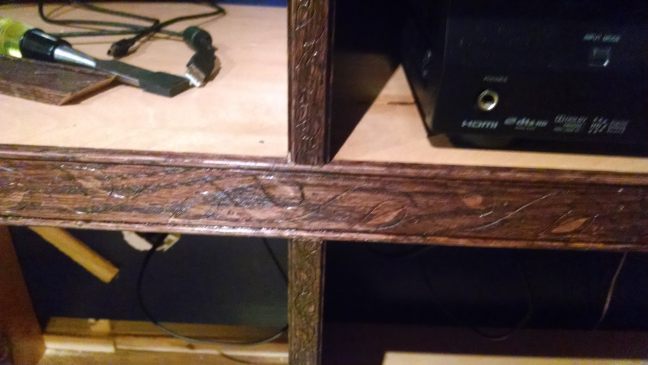
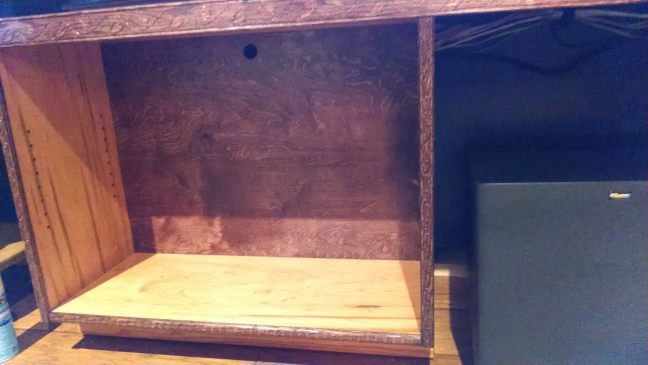
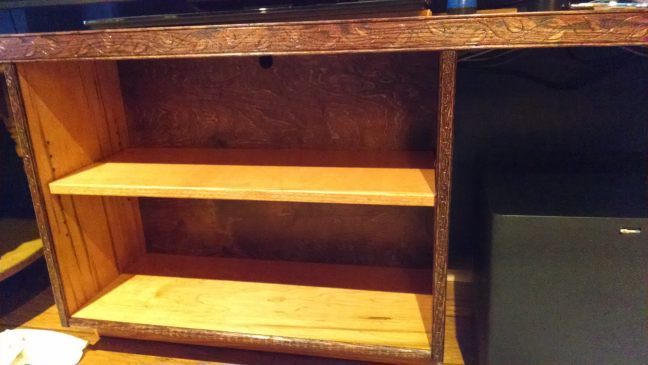
What's interesting is that I built that wall all fucked up. There is a negative slope of about 2 inches from ceiling to floor, and the slope isn't even consistent from right to left. There's less slope the farther left you go. So, I measured the rate of slope, and my carpenter buddy built everything so even after it was flush against the wall, the facing side would still be level up and down. The bottom of those shelves are about 12.5" deep, and the tops are about 11" deep. And the front face....
Perfect.
Posted: Mon Mar 31, 2014 10:24 am
by Malcolm
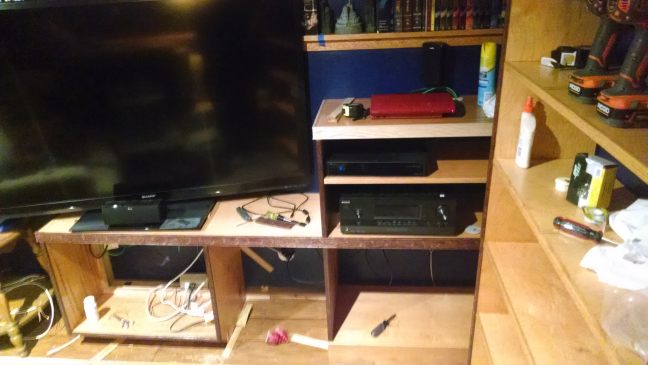
You have a massive streak of shit all over your TV in that last shot.