Page 7 of 9
Posted: Fri Dec 07, 2012 1:05 pm
by GORDON
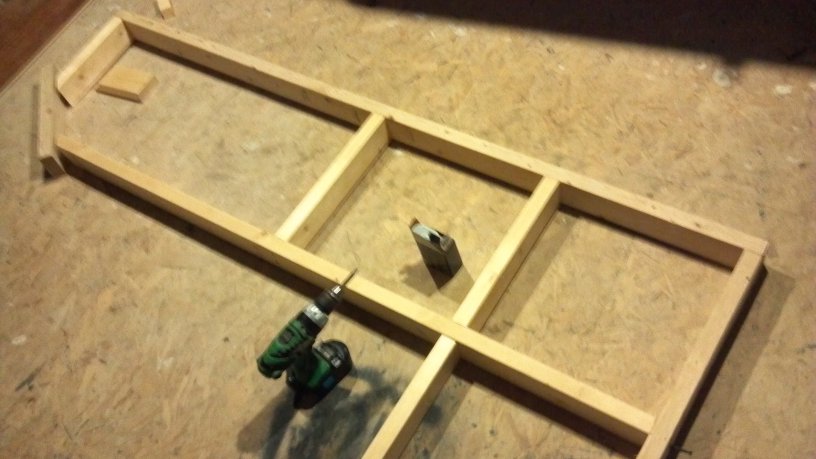
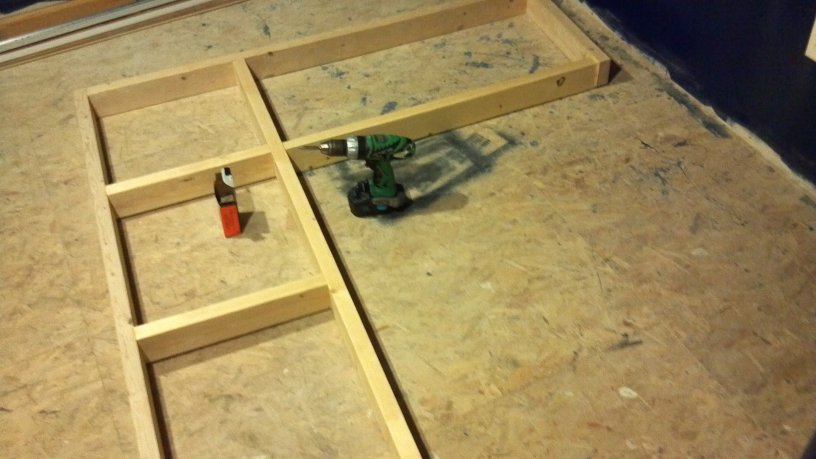
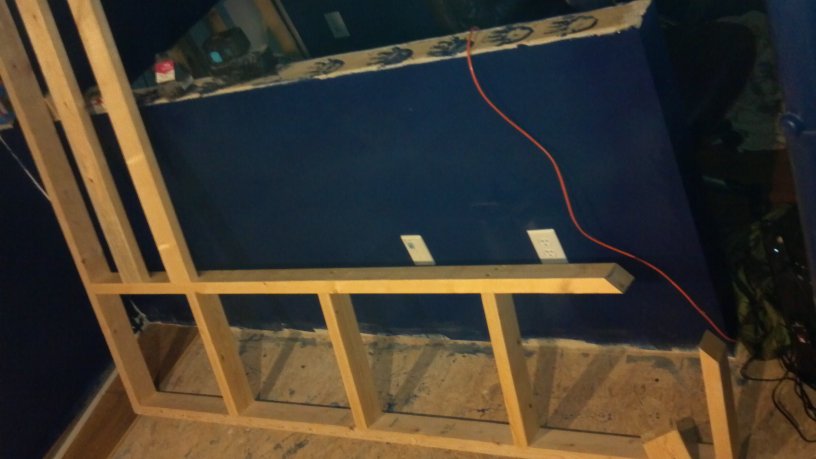
Designed the desk with my carpenter buddy last weekend, and I just finished the frame of it so hopefully he and I can get it hung on the wall this weekend.
Posted: Sat Dec 08, 2012 4:38 pm
by GORDON
Carpenter may or may not make it this weekend, so went and bought $147 of ceiling tile accoutrement to keep the project going.
Running total: $2222
Posted: Tue Dec 11, 2012 7:39 pm
by GORDON
I printed out a grid and made a plan, and went and bought materials according to the plan.
Then I threw the plan away and sort of winged it. Originally I had planned the ceiling grid to make the most efficient use of whole tiles.... then I realized how stupid and off-center that would look, and decided on a centered approach... that, incidentally, also ensured that the grid lined up with the other half of the ceiling. That is, of course, how I should have planned it to begin with, but I hadn't thought of it until after I revised the plan and noticed how everything lined up. Whew... I would have hated it if it ended up offset.
So, grid went up, and with the revised plan I was 3 short pieces... short. SO here's that.
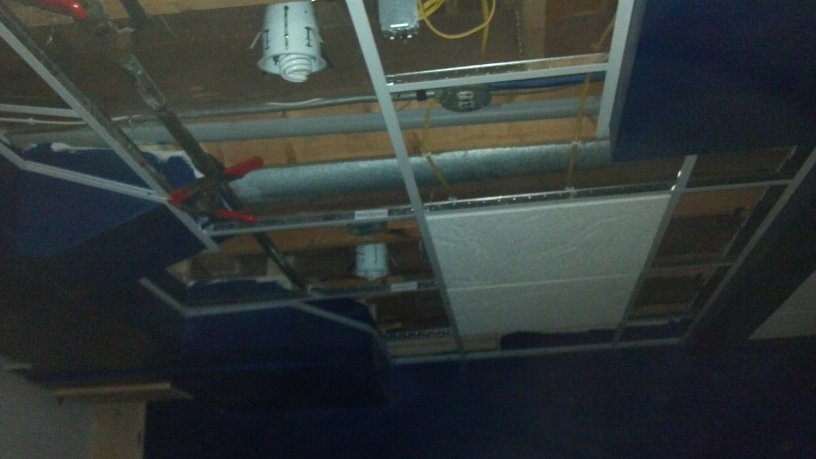
You can see in the top left of the pic there is a cross-strut missing. I put the only 2 whole tiles in place, to make sure errything was square.
I had a few minutes so I ran to Menard's to get my missing 3 pieces... insignificant cost (the tiles are where it gets expensive at $7.50 per for the nice ones).
Slapped them in, started cutting tiles until I got tired of cutting tiles.

And due to the wacky, clever way I framed in the duct work, I ended up cutting this fun piece. It is the hardest one of the project, so I am glad it is cut and in place.

Posted: Sat Dec 15, 2012 11:23 pm
by GORDON
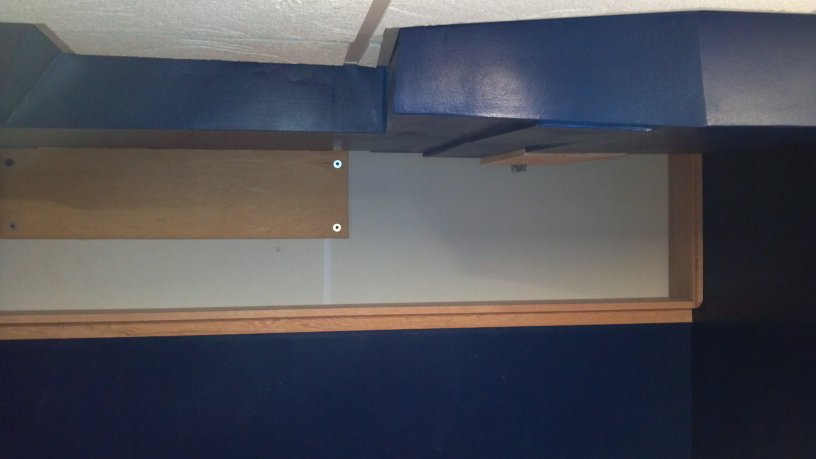
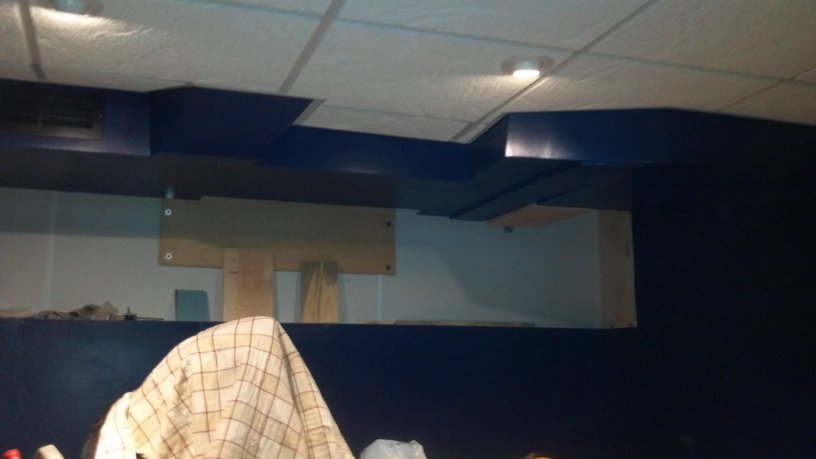
Finished the ceiling a couple days ago, never got to posting pics. I especially like how good the eyeball spotlights look when they have the appropriate bulbs and are all mounted and shit.
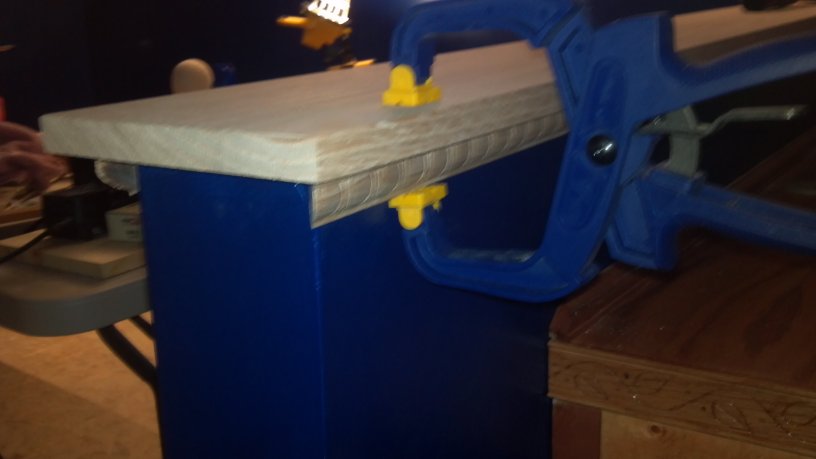
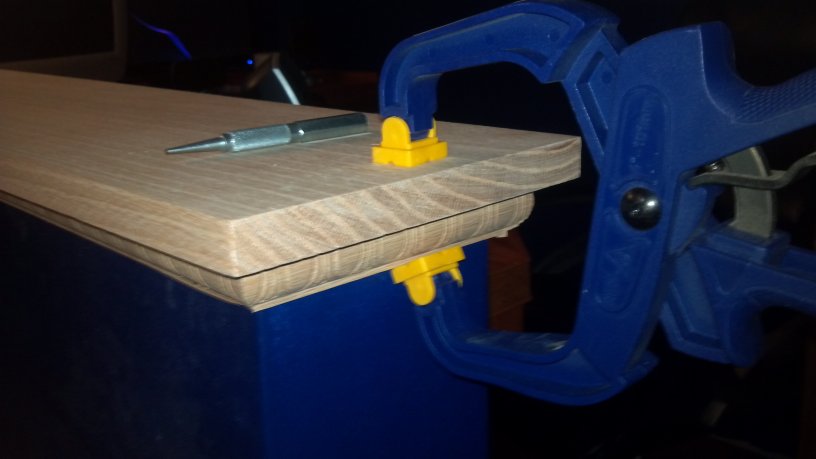
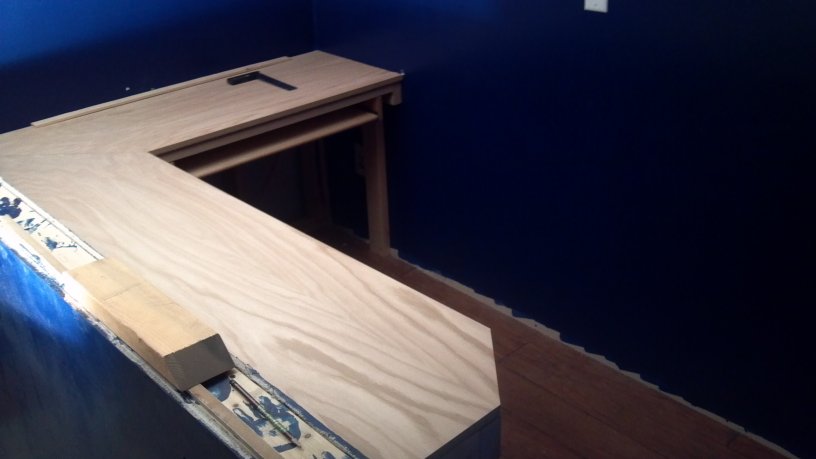
Also the carpenter came over tonight and we spent about 4 hours doing this.
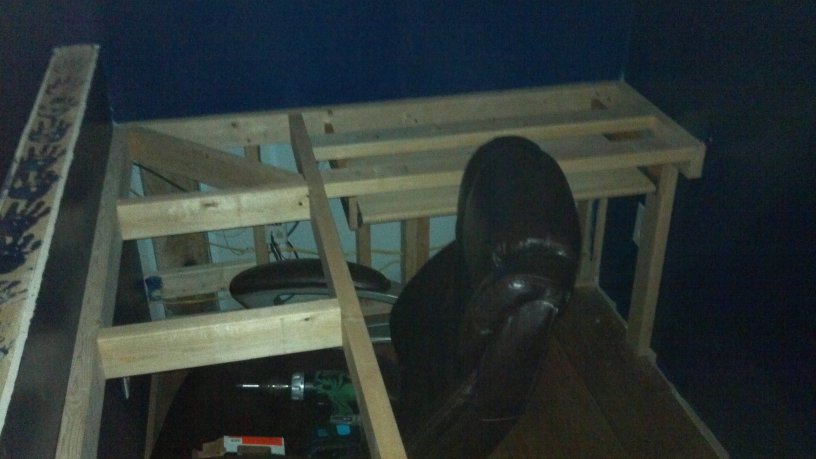
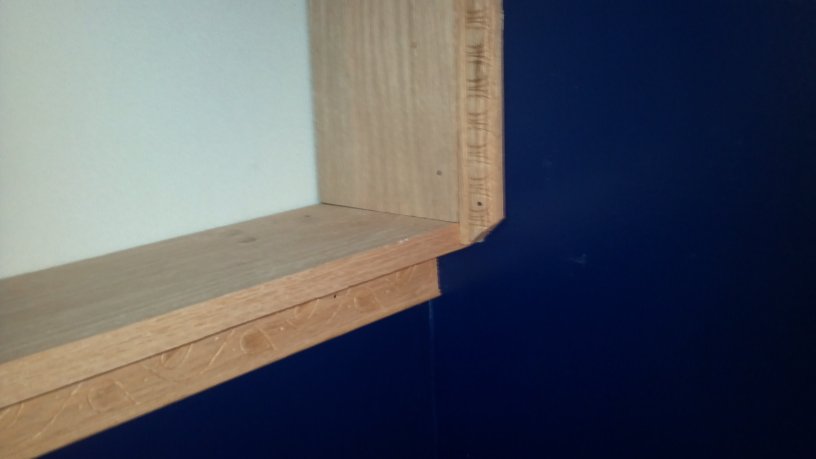
Doesn't look like much, but besides actually mounting the frame to the wall and getting it leveled, there is also a leg that you can't see that we modified from a stairway baluster, we built/installed the sliding keyboard/mouse deck that you can sorta see, and we made the initial cuts on the oak desktop. He is coming over tomorrow to finish those up with me so I can get the trim on and get to the staining process for the upcoming week's milestone. I hope to have my custom desk officially in use by next weekend... I hope the polyurethane doesn't take stupid-long to dry between coats. Staining wood is also going to be a first for me.
Posted: Mon Dec 17, 2012 4:13 pm
by GORDON
Did this yesterday.
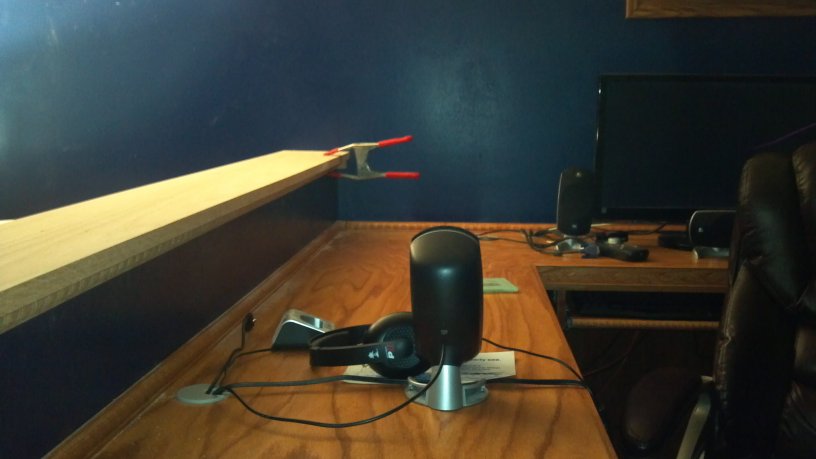
Started getting the trim on today.
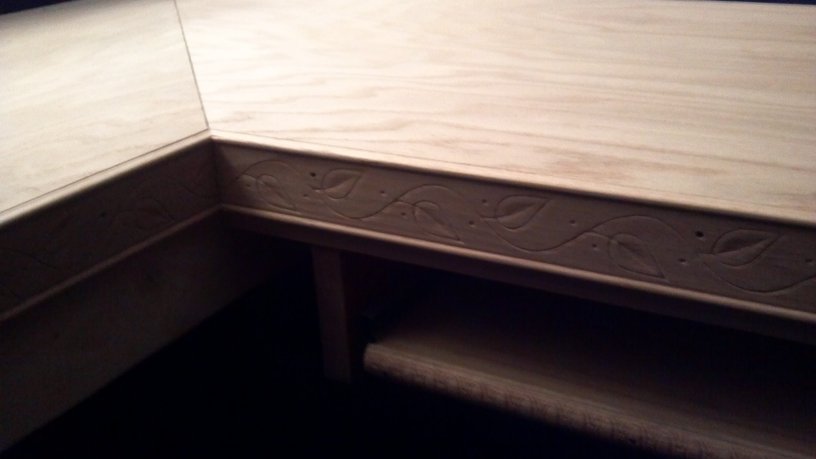
I hope to be able to start staining tonight... the goal is to be using the desk by this coming weekend.
Posted: Tue Dec 18, 2012 11:45 am
by GORDON
I have to go out and get more trim and shit before I start staining but UGH I just don't feel like it.
Posted: Tue Dec 18, 2012 5:15 pm
by GORDON
BAM.
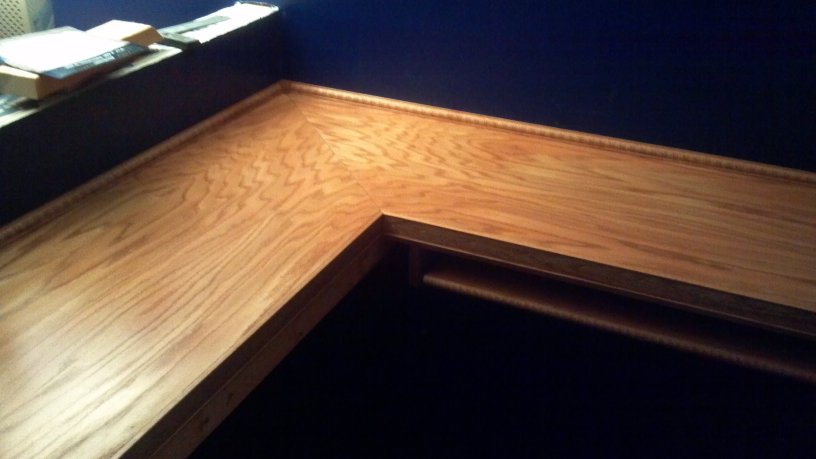
Pics are before I wiped off the excess. Color is a skosh more uniform, now.
And I am sitting here getting high off the fumes.
Posted: Tue Dec 18, 2012 5:18 pm
by GORDON
Oh, all the trim, sandpaper, stain, woodglue, finishing nails, etc I have purchased cost about $200, total.
Running total: $2422
Posted: Wed Dec 19, 2012 4:24 pm
by GORDON
For the record, winter is NOT a good time to do a staining project inside your house. Either you die of fumes or hypothermia from having all the windows open for days.
Posted: Fri Jan 11, 2013 6:30 pm
by GORDON
GORDON wrote:Oh, all the trim, sandpaper, stain, woodglue, finishing nails, etc I have purchased cost about $200, total.
Running total: $2422
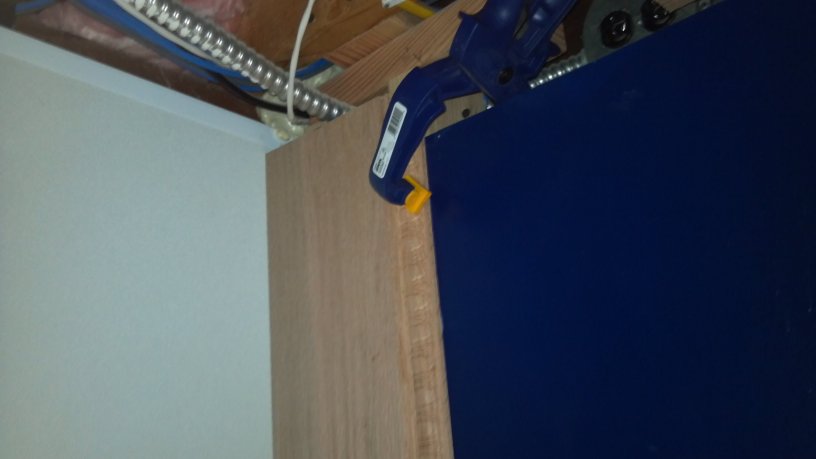
Desk was finished and in use by the end of that weekend, just haven't gotten around to posting the pics.
In the meantime I have spent about $110 more on more oak trim. Pics later. Just updating the score.
Running total: $2532
Getting pretty close to everything being done, except for the shelves. Whole house carpeting is coming soon,including the basement, as long as Obama's retroactive tax increases don't hurt too much.
Posted: Fri Jan 11, 2013 9:52 pm
by Cakedaddy
Is there an easy place to host pictures for posting? I'm going to be building a competing "remodeling" thread, but don't have an easy place to host pictures.
Posted: Fri Jan 11, 2013 9:57 pm
by GORDON
Cakedaddy wrote:Is there an easy place to host pictures for posting? I'm going to be building a competing "remodeling" thread, but don't have an easy place to host pictures.
I can probably set you up a dtman.com ftp account. Just don't fill it up.
Posted: Thu Jan 17, 2013 11:34 am
by GORDON
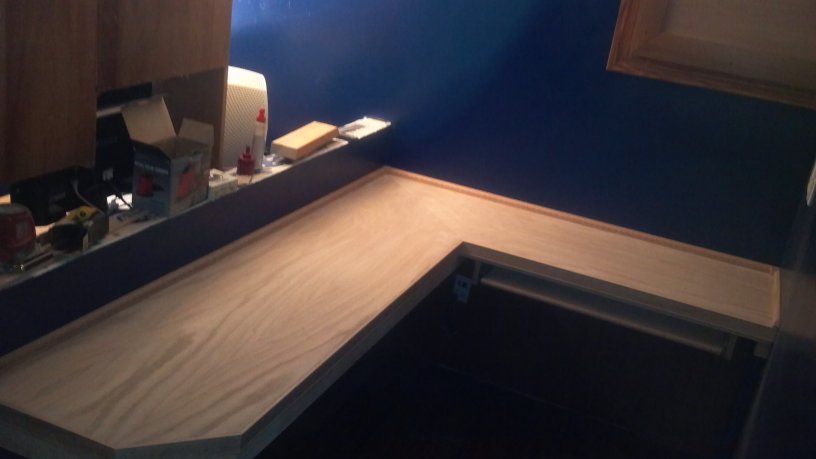
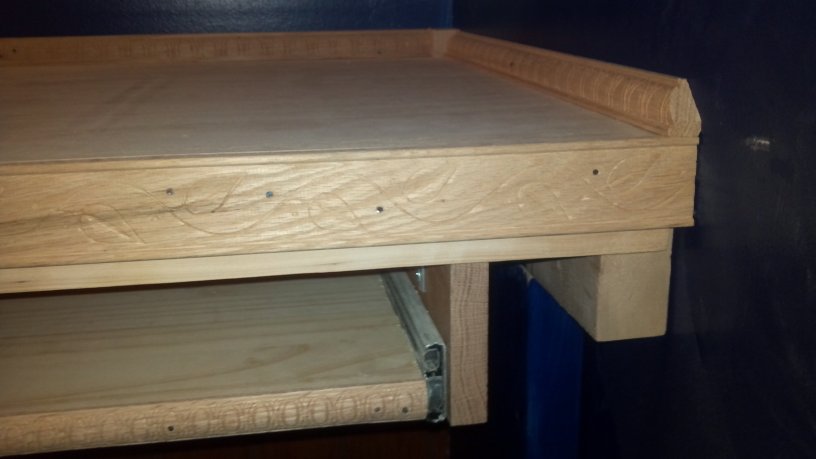
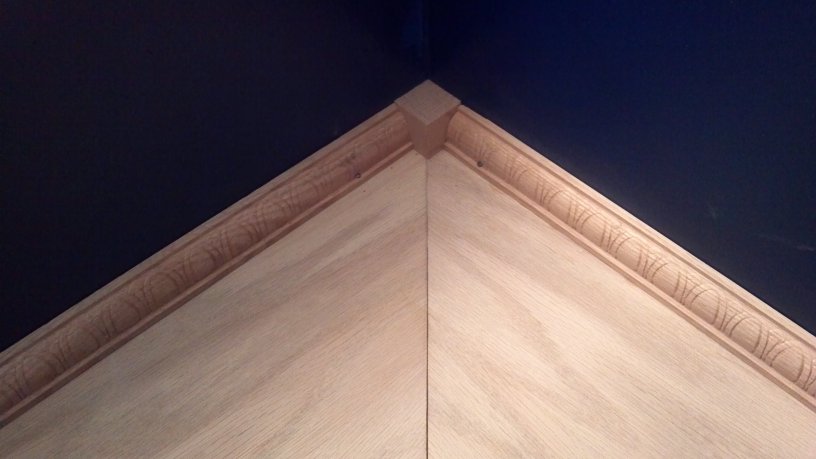
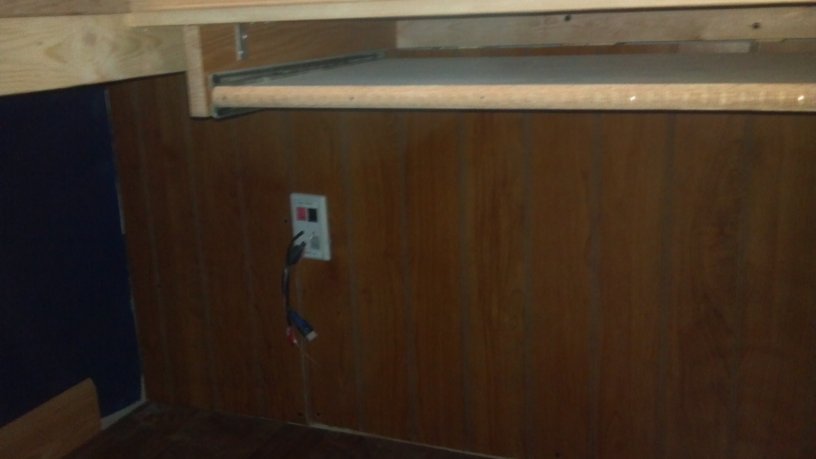
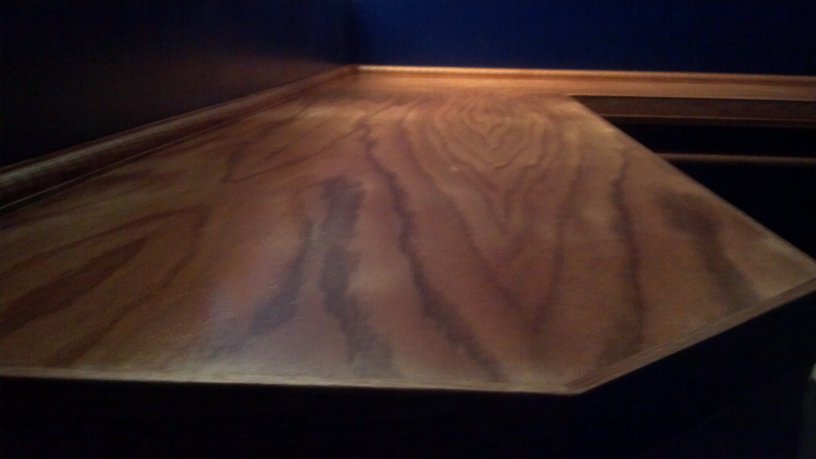
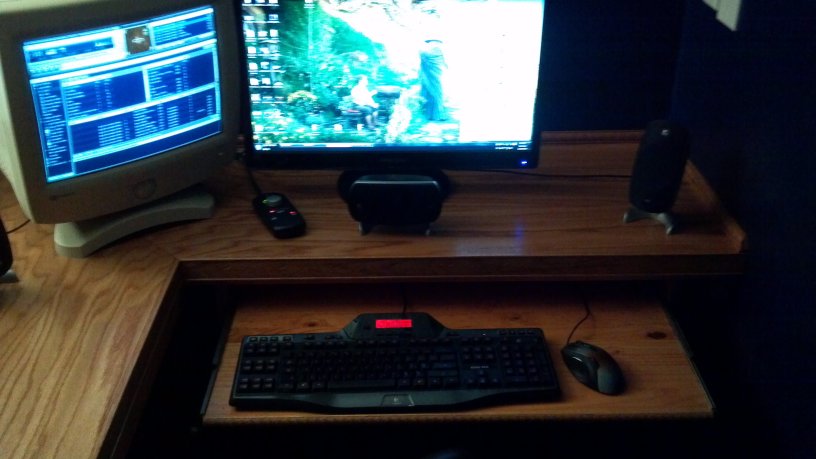
Here's the desk pics. I've been using it since that weekend.
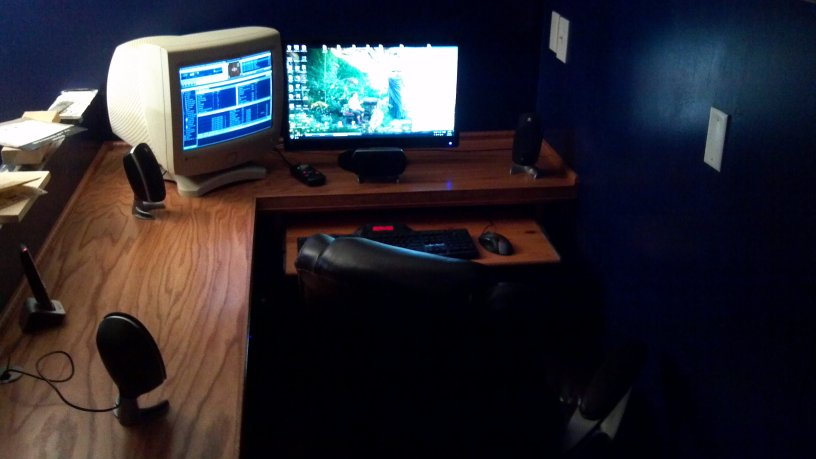
The keyboard/mouse deck retracts under the main desk, which is really awesome.
Posted: Thu Jan 17, 2013 12:41 pm
by TheCatt
The hell is that big ugly thing on the left?
Posted: Thu Jan 17, 2013 12:44 pm
by GORDON
Left of what?
Posted: Thu Jan 17, 2013 1:12 pm
by TheCatt
Left of your monitor.
Posted: Thu Jan 17, 2013 2:50 pm
by GORDON
Ahhhh yes.
I dont like replacing hardware until it dies.... and that goddam thing still works perfectly 15 years later.
Posted: Tue Jan 22, 2013 12:19 pm
by GORDON
CD shelving plan.
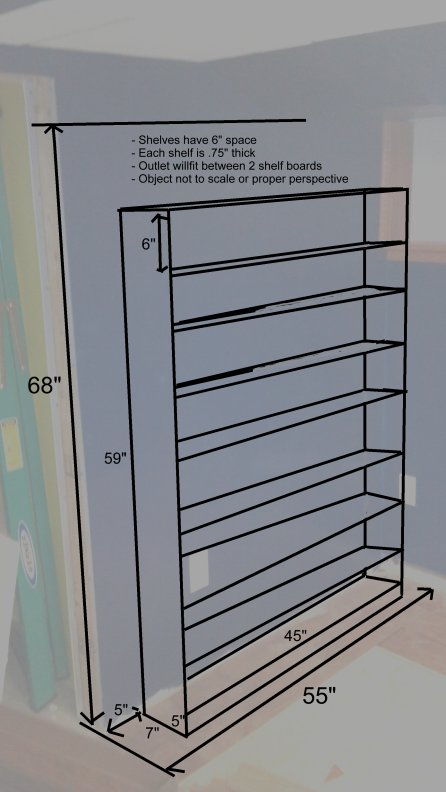
Yeah, the 3rd shelf up looks goofy. I was trying to show that the way I measured it the outlet would be between shelves, but my picture scale didn't show it properly and yeah it looks dumb and screw you for judging me.